
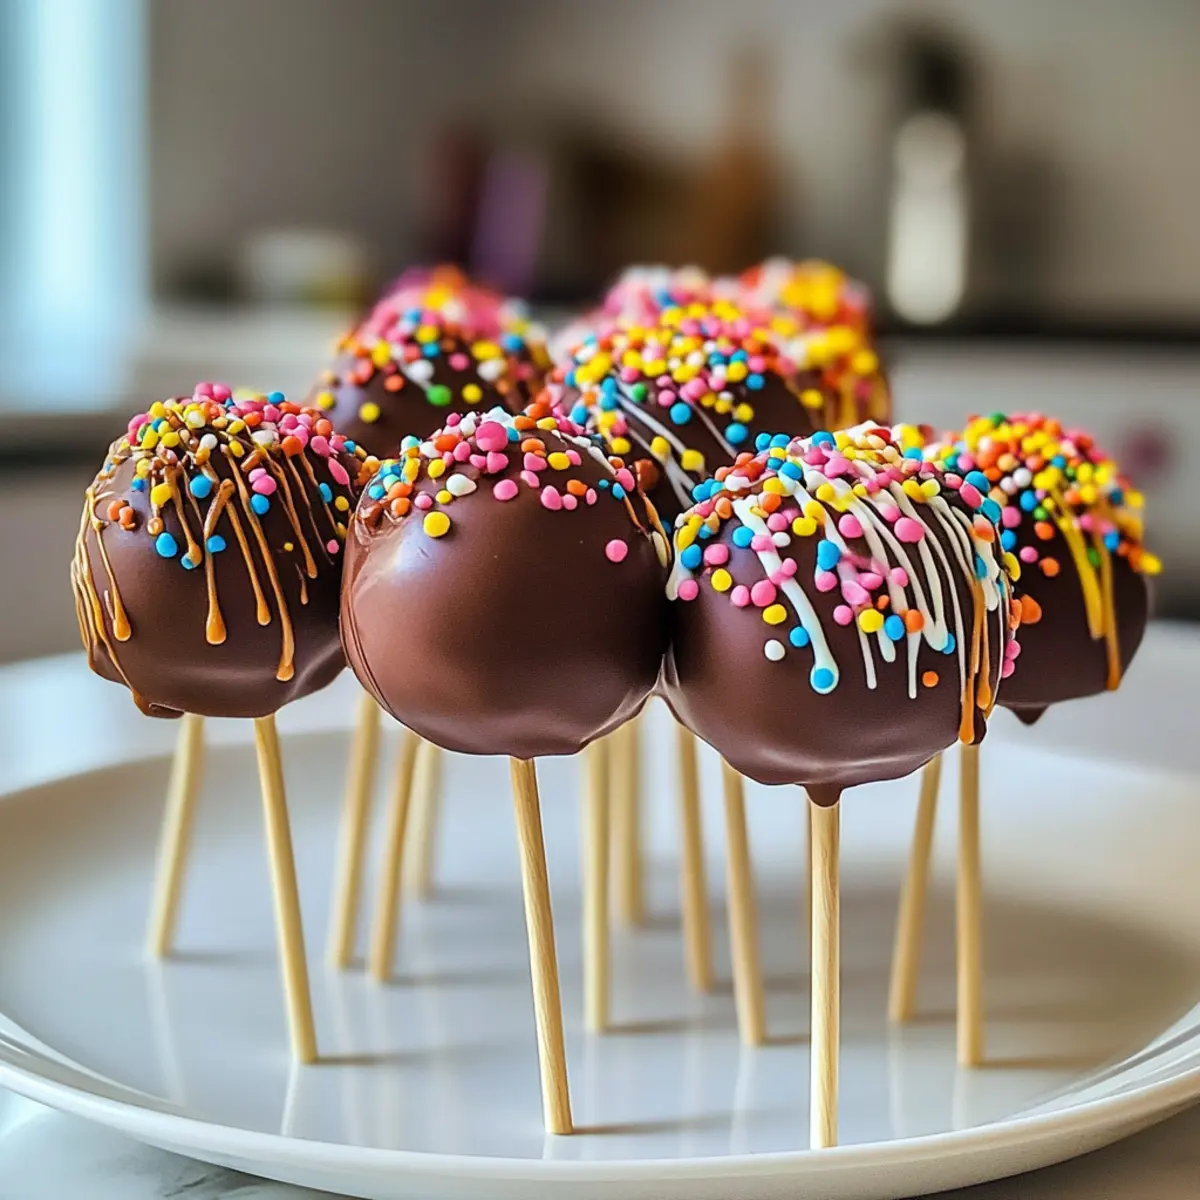
When my friends announced an impromptu get-together, I knew I had to bring something special yet simple to whip up. That’s when I remembered the joy of cake pops—those irresistible little treats that marry moist cake with creamy frosting, all cloaked in a luscious chocolate shell. As I took my first bite, I was reminded of the blissful flavors dancing on my palate, each pop bursting with sweetness and nostalgia.
What’s even better? These delightful cake pops are not just delicious; they’re completely customizable! From the flavor of the cake mix to the toppings, the possibilities are endless. Whether you’re celebrating a birthday, a holiday, or simply treating yourself, these kid-friendly desserts are a guaranteed crowd-pleaser. So gather your ingredients, and let’s embark on a delightful journey to create your very own cake pop magic!

Why are Irresistible Cake Pops a Must-Try?
Customizable delights: These cake pops offer endless flavor variations and decoration choices, making them perfect for any occasion.
Easy to Make: With simple ingredients and straightforward steps, even beginner bakers can create impressive treats in no time.
Party-Ready: Their fun size and vibrant appearance make them a hit at celebrations, capturing both kids’ and adults’ hearts.
Time-Saving: Whip up a batch quickly, giving you more time to enjoy with loved ones.
Perfect for Gifts: Package them in decorative boxes for a thoughtful, homemade gift that’s sure to impress.
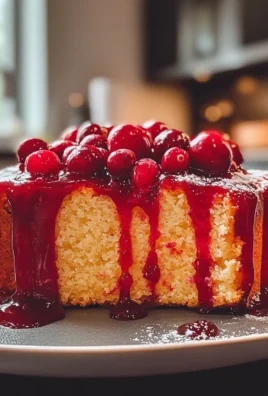
For even more inspiration, try out my Delightful Sweet Roasted dish alongside these cake pops for a complete dessert experience!
Irresistible Cake Pops Ingredients
• Whip up these delightful cake pops with simple ingredients that guarantee a tasty treat for all!
For the Cake
- Cake Mix – This is the foundation of your cake pops; choose chocolate, vanilla, or even funfetti for a festive twist.
- Eggs – Essential for binding ingredients and adding moisture, make sure they’re fresh for the best results.
- Oil – Keeps the cake pops moist; for a lighter option, substitute with applesauce or yogurt.
- Water – Vital for activating the cake mix, ensuring your cake bakes to perfection.
For the Filling
- Frosting (1 cup) – This sweet sticky goodness binds the crumbled cake together; use any flavor to match your cake mix for blissful combinations.
For the Coating
- Chocolate Melts – The delicious coat that wraps your cake pops; feel free to use white chocolate or colored candy melts for added flair.
For Decoration
- Sprinkles/Decorations – Add festive colors and fun textures; you can also use crushed nuts or edible glitter to jazz things up.
How to Make Irresistible Cake Pops
-
Preheat the Oven: Start by preheating your oven to 350°F (175°C). This ensures the perfect environment for your cake to rise and bake evenly.
-
Prepare the Cake Mix: In a mixing bowl, combine the cake mix with eggs, oil, and water as per the package instructions. Mix until smooth—no lumps allowed!
-
Bake the Cake: Pour the batter into a greased baking pan and bake until golden brown, approximately 25-30 minutes. A toothpick inserted in the center should come out clean.
-
Cool and Crumble: Once done, allow the cake to cool completely. Then, crumble it into fine crumbs in a large mixing bowl, ensuring no large pieces remain.
-
Combine with Frosting: Add 1 cup of frosting to the crumbled cake. Mix thoroughly until the cake and frosting are perfectly blended and hold together when squeezed in your hand.
-
Shape the Cake Balls: Scoop out portions of the mixture and roll them into 1-inch balls. Place these on a parchment-lined baking sheet and refrigerate for about 1 hour to firm them up.
-
Melt the Chocolate: Follow package instructions to melt the chocolate melts in a microwave or double boiler until smooth and creamy.
-
Coat the Cake Pops: Dip each firm cake ball halfway into the melted chocolate. Allow excess chocolate to drip off before placing them back on the parchment paper.
-
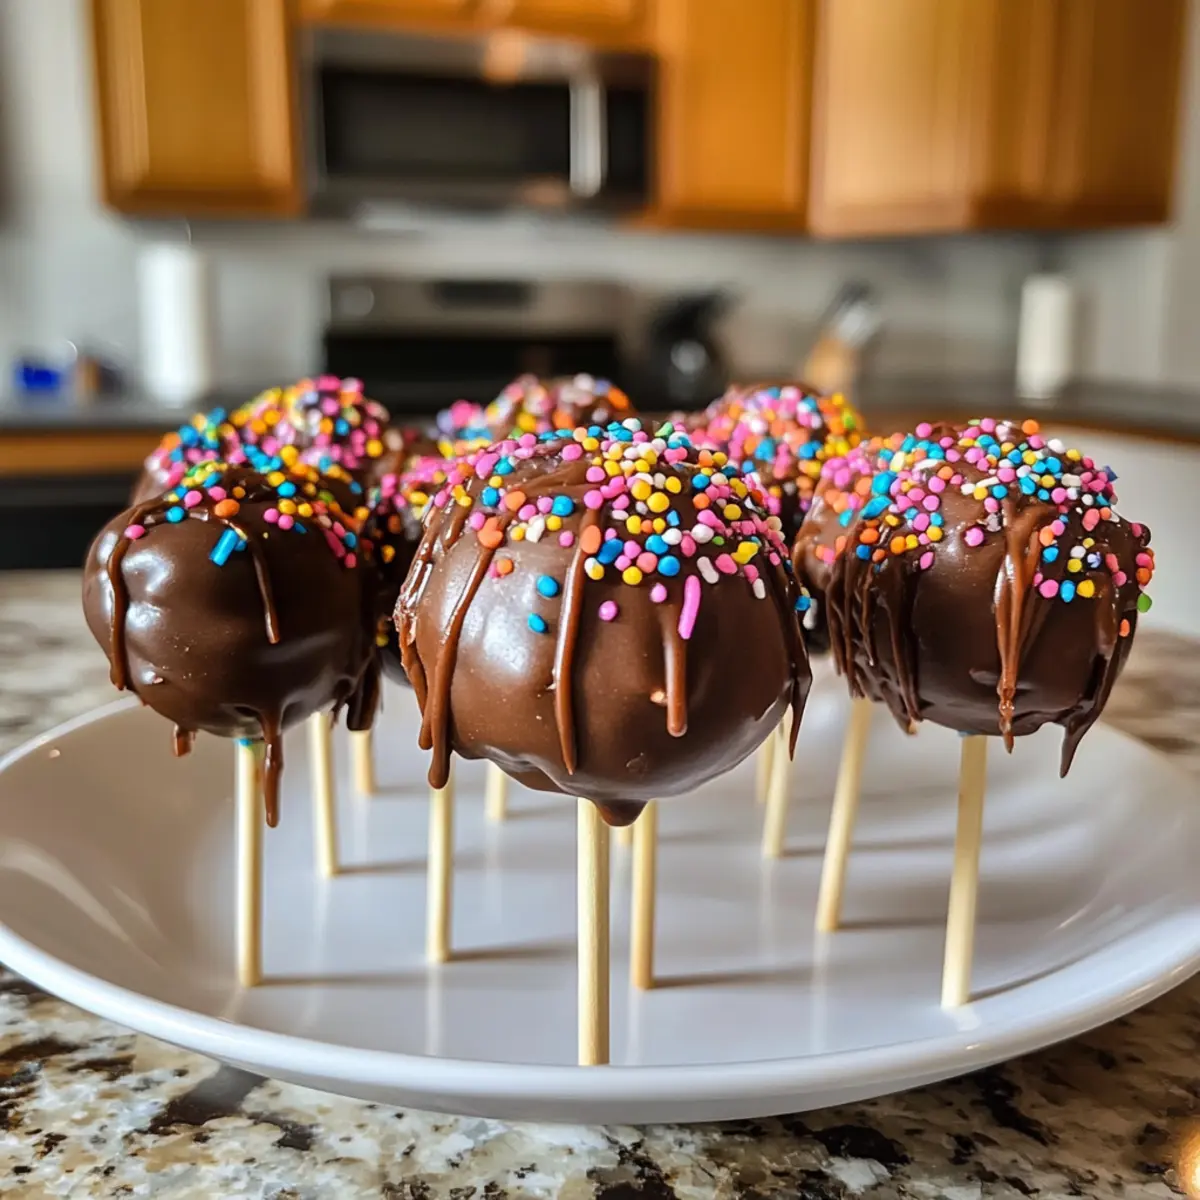
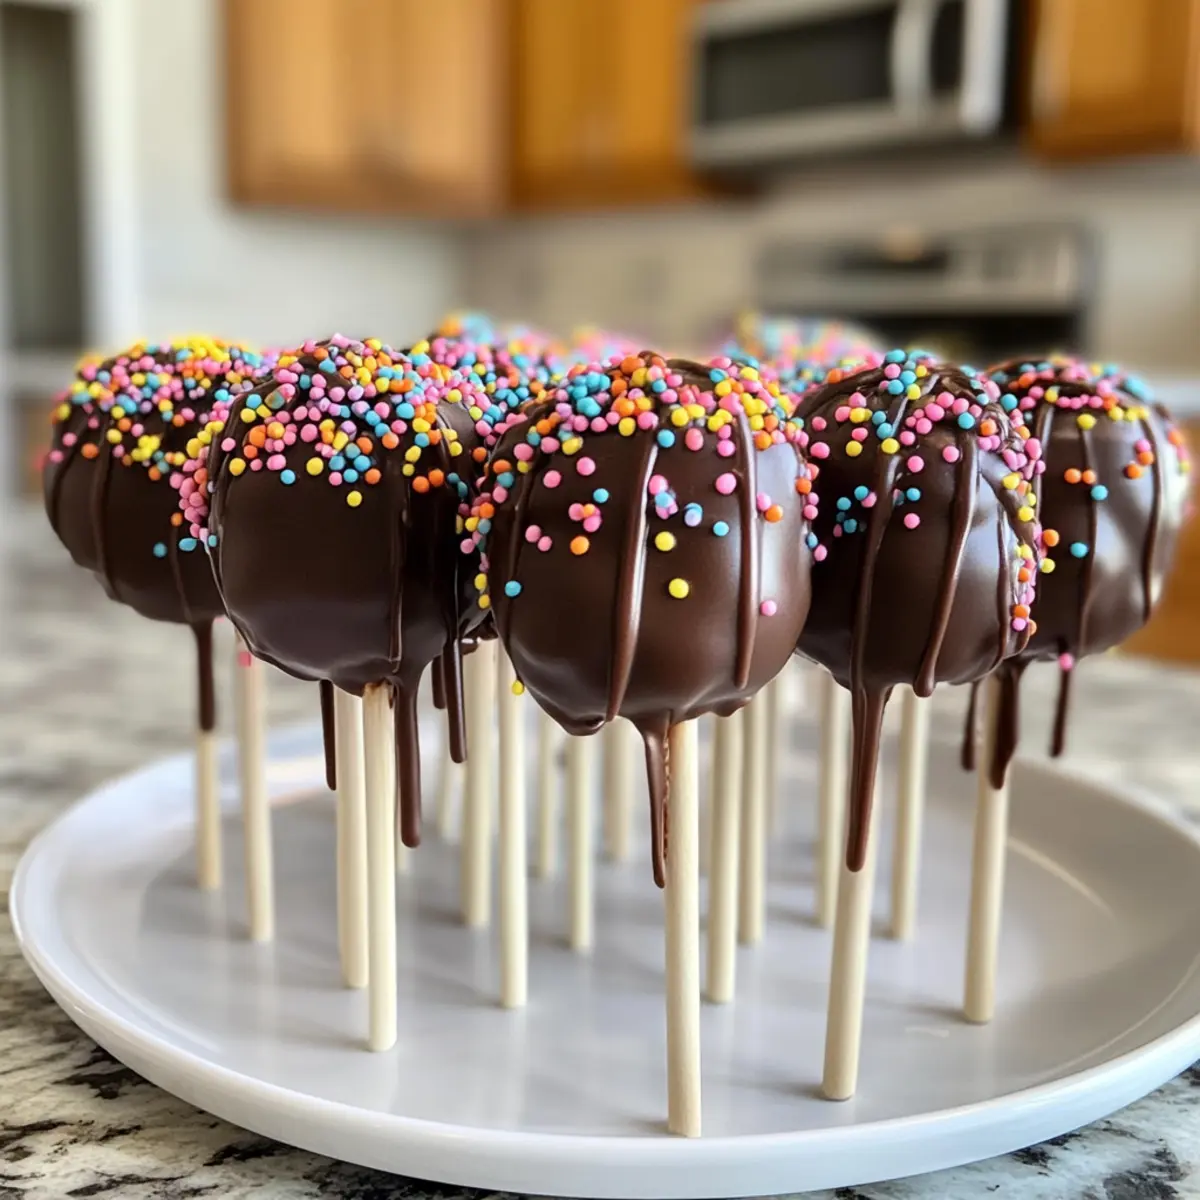
Add Decorations: While the chocolate is still melted, sprinkle your favorite decorations, such as sprinkles or edible glitter, onto the pops. Let them dry completely for a flawless finish.
Optional: For an extra touch, drizzle contrasting melted chocolate over the coated pops for a beautiful design.
Exact quantities are listed in the recipe card below.
What to Serve with Irresistible Cake Pops?
Looking to create a delightful spread that perfectly complements your sweet cake pops?
- Refreshing Fruit Salad: A medley of fresh fruits adds a crisp, refreshing contrast to the sweetness of cake pops and balances the richness.
- Mini Cupcakes: These little cakes not only match the size but also offer a variety of flavors that pair perfectly with your cake pops. Serve both for a fun dessert table!
- Chocolate Fondue: An interactive treat that allows guests to dip d fruits or marshmallows into warm, melted chocolate—delicious alongside the sweet flavors of cake pops.
- Ice Cream Sundae Bar: Create a mini sundae station with toppings galore, providing a fun and customizable dessert experience. The coolness of ice cream complements the cake pops wonderfully!
- Sparkling Lemonade: This zesty drink will refresh your guests between bites of the sweet cake pops. The bubbly texture adds an element of fun to any gathering.
- Coffee or Tea: Both drinks enhance the flavors of cake pops while providing a cozy texture, making them ideal for an afternoon treat or casual gathering.
- Petite Cheesecakes: These creamy desserts can bring a different flavor dimension while still being bite-sized, making them a perfect pairing with your cake pops.
- Chocolate-Dipped Pretzels: The salty crunch of pretzels dipped in chocolate offers a great contrast to the sweetness of cake pops, adding a playful element to your dessert table.
Expert Tips for Irresistible Cake Pops
-
Cool Your Cake: Ensure the baked cake is completely cooled before crumbling. This prevents crumbles from becoming too dry or unmanageable.
-
Perfect Consistency: If your cake mixture is too soft and won’t hold its shape, add a bit more frosting to firm it up.
-
Chill for Firmness: After shaping the cake balls, chilling them in the fridge for an hour enhances their structure and makes coating easier.
-
Melt with Care: When melting chocolate, do it slowly to avoid burning. Stir frequently for a smooth, creamy coating that wraps each cake pop perfectly.
-
Creative Decorations: Get creative with toppings! Consider using crushed cookies, nuts, or themed sprinkles to match the occasion, making your cake pops uniquely delightful.
-
Storage Tips: Keep your irresistible cake pops fresh by storing them in an airtight container at room temperature for up to three days.
Make Ahead Options
These Irresistible Cake Pops are perfect for busy home cooks looking to save time! You can bake the cake and crumble it up to 24 hours in advance; simply store it in an airtight container to keep it fresh. Additionally, you can mix the crumbled cake with frosting and shape it into balls, refrigerating them for up to 3 days before coating. To maintain their quality, make sure they’re well-sealed to prevent drying out. When you’re ready to serve, just dip the firm cake balls in melted chocolate, add your favorite decorations, and allow them to dry completely. This way, you’ll have delightful cake pops ready to impress without the last-minute rush!
Irresistible Cake Pops Variations
Customize your cake pops to suit your taste and occasion—let your creativity run wild!
-
Gluten-Free: Use a gluten-free cake mix to make these treats accessible for everyone, maintaining that beloved flavor.
-
Vegan-Friendly: Substitute eggs with flax eggs and use a dairy-free frosting along with coconut oil for a completely plant-based version.
-
Flavor Boost: Incorporate flavored extracts like almond or orange into the cake mix for an aromatic twist that elevates every bite.
-
Nutty Addition: Fold in crushed nuts (like walnuts or almonds) into the cake mixture before shaping for a delightful crunch and rustic flavor.
-
Coconut Twist: Add shredded coconut to the batter and top with coconut flakes for a tropical flair, perfect for summer gatherings.
-
Spicy Kick: Infuse the cake mix with a pinch of cinnamon or cayenne pepper for a surprising warm depth that excites the palate.
-
Colorful Layers: Alternate layers of different colored cake mixes when baking to create a visually stunning rainbow effect that dazzles!
-
Decorative Drizzles: Use contrasting melted chocolate to drizzle over the pops for a beautiful finish and add an artistic touch to your creations.
Storage Tips for Irresistible Cake Pops
-
Room Temperature: Store your cake pops at room temperature in an airtight container for up to 3 days. This keeps them fresh and ready to enjoy any time!
-
Fridge: For longer storage, place your cake pops in the fridge where they can last up to a week. Ensure they’re in a sealed container to prevent drying out.
-
Freezer: For extended enjoyment, freeze cake pops for up to three months. Wrap each in plastic wrap before placing them in a freezer-safe container to maintain their delightful flavor and texture.
-
Reheating: When ready to enjoy, pull them from the freezer a few hours before serving, allowing them to thaw in the fridge for optimal consistency before serving.
Irresistible Cake Pops Recipe FAQs
How do I choose the best cake mix for my cake pops?
Absolutely! When selecting a cake mix, consider your flavor preference. Classic choices like chocolate or vanilla work wonderfully, but don’t hesitate to experiment with unique flavors like red velvet or lemon. Just ensure it’s a tried-and-true brand for the best results!
How should I store my leftover cake pops?
For the best taste, store your cake pops in an airtight container at room temperature for up to 3 days. If you want to keep them longer, they can be kept in the refrigerator for up to a week. Just remember to seal them well to avoid drying out.
Can I freeze my cake pops? If so, how?
Very! Freezing cake pops is a fantastic way to preserve them for later. Wrap each pop in plastic wrap individually, then place them in a freezer-safe container. They can be enjoyed for up to 3 months! When you’re ready to indulge, take them out and let them thaw in the fridge for a couple of hours before serving.
What should I do if my cake pop mixture is too dry or crumbly?
If your mixture feels dry and crumbles apart, don’t worry! Simply add a bit more frosting, about a tablespoon at a time, mixing thoroughly until you achieve a consistency that holds together nicely when squeezed. This should create the perfect blend for rolling!
Are there any dietary considerations when making cake pops?
Absolutely! Be mindful of any dietary restrictions. For allergies, you can use gluten-free cake mixes and dairy-free frosting alternatives. Additionally, if you’re making these for kids or gatherings with pets around, be cautious with chocolate—as it’s harmful to dogs—opting for carob or vanilla coatings instead.
What’s the best way to decorate my cake pops?
The more the merrier! You can go wild with decorations! While the chocolate coating is wet, sprinkle on colorful sprinkles, crushed nuts, or even edible glitter for a festive touch. For themed occasions, use colored candy melts to create unique patterns—just drizzle and let your creativity shine!
Irresistible Cake Pops: Easy Sweet Treats for Every Occasion
Ingredients
Equipment
Method
- Preheat the Oven to 350°F (175°C).
- In a mixing bowl, combine the cake mix, eggs, oil, and water. Mix until smooth.
- Pour batter into a greased baking pan and bake for 25-30 minutes until golden brown.
- Allow the cake to cool completely. Crumble into fine crumbs in a mixing bowl.
- Add 1 cup frosting to the crumbled cake and mix until well blended.
- Roll the mixture into 1-inch balls and refrigerate for about 1 hour.
- Melt the chocolate melts until smooth.
- Dip each cake ball halfway into the melted chocolate and let excess drip off.
- Add decorations while the chocolate is still melted, then let them dry completely.


Leave a Comment