
There’s nothing quite like the warm, inviting aroma of freshly baked scones wafting through the kitchen. I often find myself reminiscing about cozy mornings spent enjoying these delightful treats with a pot of tea. It all started when I had a bit of leftover buttermilk after making pancakes one Sunday. Instead of pouring it down the drain, I decided to whip up these Classic Buttermilk Scones, and I was pleasantly surprised by how easy and quick they were to make—only 15 minutes in the oven!
With their light, flaky texture and just the right amount of sweetness, these scones are perfect for any occasion. Whether you’re treating yourself to a relaxing breakfast or looking to impress guests at brunch, they’ll surely be a hit. Top them with jam, lemon curd, or a simple pat of butter, and you have a little bite of heaven. Plus, the beauty of this recipe is in its versatility—feel free to customize with chocolate chips, dried cranberries, or even savory cheese. Let’s dive into the perfect scone-making experience!
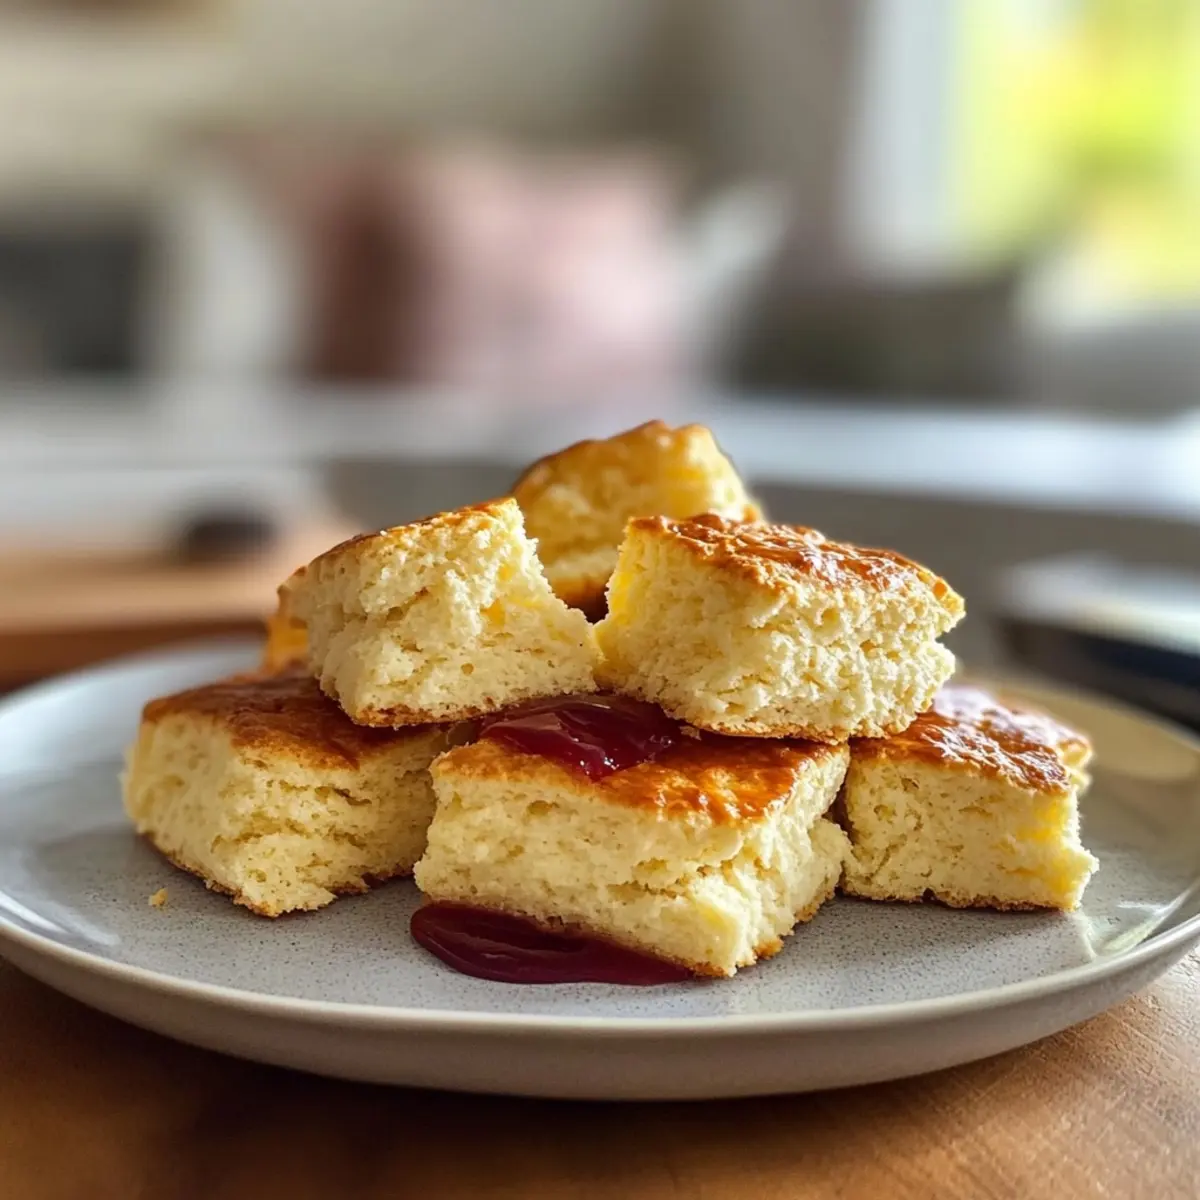
Why are Classic Buttermilk Scones a must-try?
Quick to whip up: These scones bake in just 15 minutes, making them perfect for busy mornings.
Flaky texture: With a light and tender crumb, each bite is a delight that rivals your local bakery.
Versatile options: Customize with your favorite mix-ins like chocolate chips or cheese for endless flavor combinations.
Perfect for any occasion: Whether it’s tea time or a casual brunch, these scones impress every time.
Uses leftover buttermilk: Say goodbye to waste and transform that leftover buttermilk into something heavenly!
Classic Buttermilk Scones Ingredients
For the Scone Dough
• All-purpose flour – Provides structure and body; substitute with cake flour for a lighter texture.
• Granulated sugar – Adds sweetness; adjust based on mix-ins to balance flavors.
• Salt – Enhances overall flavor; do not skip for the best taste.
• Baking powder – Leavening agent for rise; ensure it’s fresh for optimal fluffiness.
• Baking soda – Works with buttermilk for additional rise; essential for the right texture.
• Unsalted butter (frozen and grated) – Creates flakiness and richness; freshly grated butter yields the best results.
• Buttermilk – Adds moisture and flavor; milk with a splash of vinegar can substitute if needed.
Optional Mix-Ins
• Chocolate chips – Add a sweet touch; reduce sugar slightly to balance sweetness.
• Dried cranberries or blueberries – Provide fruity bursts of flavor; perfect for a sweet twist.
• Grated cheese – For a savory variation; adds richness and depth to the scone.
• Citrus zest (like lemon or orange) – Brightens the flavor profile; enhances the overall freshness.
How to Make Classic Buttermilk Scones
- Preheat your oven to 400°F (204°C) and lightly grease a baking sheet. This prepares the ideal setting for baking your scones to golden perfection.
- Whisk together the flour, sugar, salt, baking powder, and baking soda in a large bowl. Ensure everything is well-combined for a consistent texture throughout your scones.
- Cut in the frozen, grated butter until the mixture resembles coarse crumbs with pea-sized bits of butter. This step is crucial for achieving that lovely flaky texture.
- Make a well in the center of the dry ingredients, then pour in the buttermilk. Gently mix until just combined—be careful not to overmix! If you’re adding mix-ins, now is the time to fold them in.
- Transfer the dough to a floured surface and divide it into two equal portions. Lightly knead each piece into a ¾ inch thick, 6-inch round. Don’t worry about perfection, rustic is charming!
- Cut each round into 8 wedges and place them on the prepared baking sheet, leaving space between each scone to allow for spreading.
- Bake for 12-15 minutes or until the tops are lightly browned. Keep an eye on them towards the end to avoid burning!
- Remove from the oven and serve warm. Let those delightful scones cool for a minute before tempting yourself with the first bite.
Optional: Serve with jam or lemon curd for an extra touch of flavor.
Exact quantities are listed in the recipe card below.
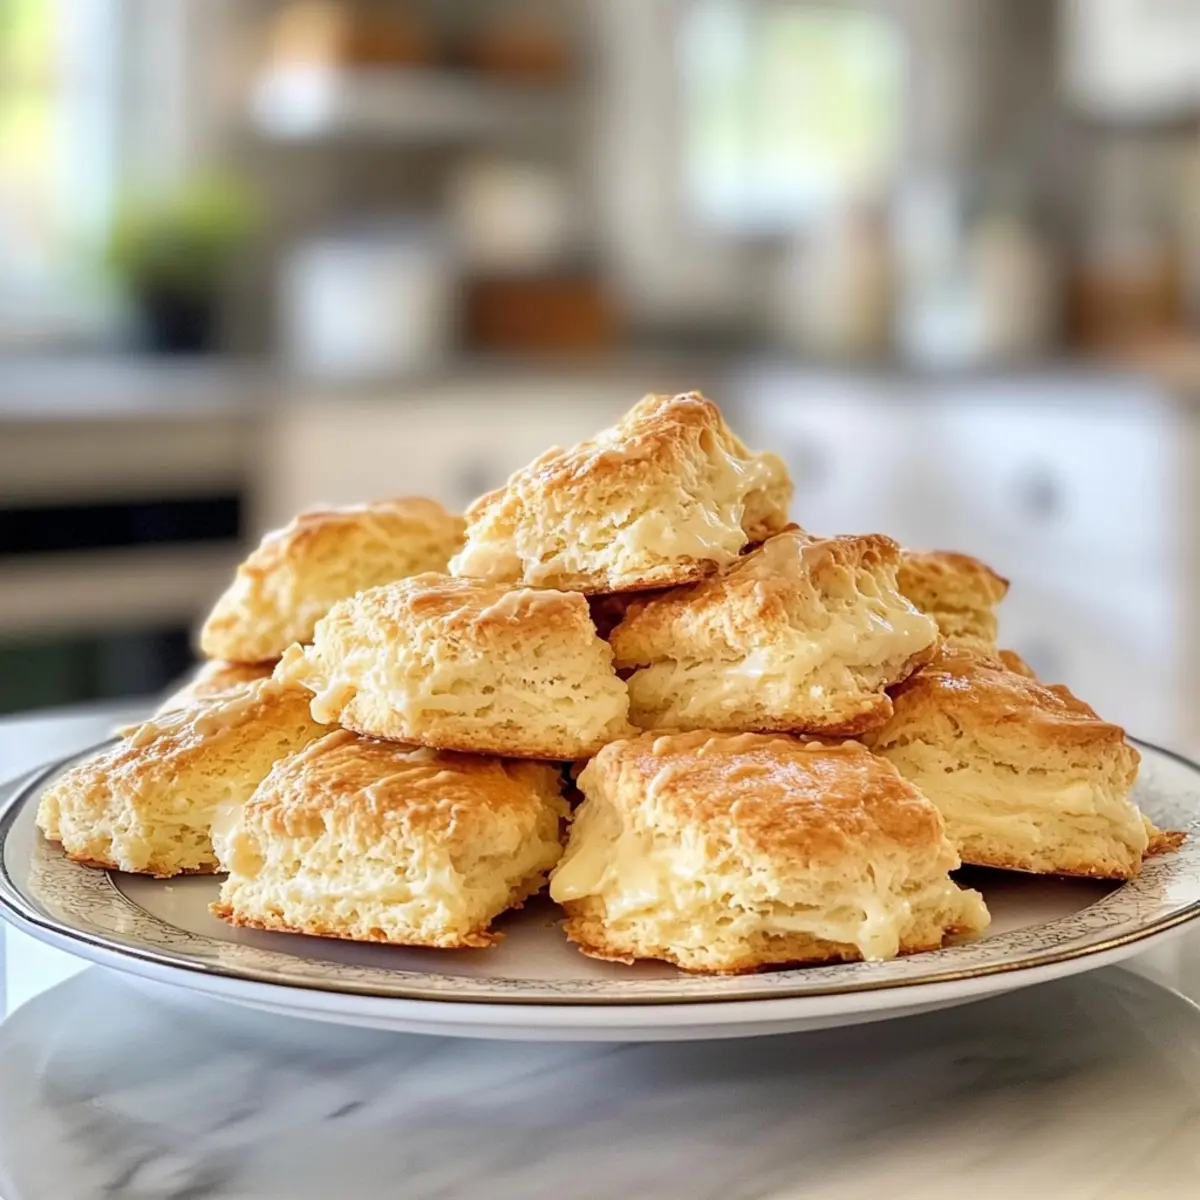
Expert Tips for Classic Buttermilk Scones
- Butter Technique: Grating the frozen butter instead of cubing it ensures a flaky texture in your scones. It mixes in more evenly, creating those lovely layers.
- Mix-in Balance: If adding mix-ins like chocolate chips or dried fruit, remember to reduce the sugar slightly to maintain the right sweetness in these classic buttermilk scones.
- Avoid Overmixing: It’s important to mix the dough just until combined. Overmixing can lead to tough scones, so be gentle for the best results.
- Oven Variations: Every oven is different, so start checking your scones a minute or two early. You want them to be lightly golden but not overbaked!
- Freezing Tips: If you plan to make a batch ahead of time, freeze unbaked scones. Just pop them in the oven straight from the freezer, adding a couple of extra minutes to the bake time.
What to Serve with Classic Buttermilk Scones?
Indulging in warm, flaky scones invites a delightful pairing to elevate your meal experience. Here are some scrumptious options that complement these treats perfectly.
- Clotted Cream: This rich, buttery delight spreads beautifully on scones, adding a luxurious creaminess that balances the sweetness. Just a dollop brings a touch of elegance to any occasion.
- Assorted Jams: From sweet strawberry to tart raspberry, jams provide a burst of flavor that both contrasts and complements the buttery scone. Each bite feels like a mini celebration!
- Herbal Tea: A soothing cup of herbal tea, like chamomile or peppermint, creates a cozy atmosphere. Its warm notes harmonize beautifully with the flaky texture of the scones.
- Citrus Lemon Curd: This zesty spread brightens the flavor profile of scones, enhancing their warmth without overpowering. The freshness of the lemon adds an irresistible tang!
- Fresh Berries: A colorful medley of blueberries, raspberries, and strawberries introduces juiciness and a touch of tartness. They not only look beautiful but provide a refreshing bite alongside the scones.
- Savory Cheese Platter: Incorporating a savory element, such as sharp cheddar or creamy brie, offers an intriguing contrast to the sweet scones. It’s perfect for a more filling brunch spread.
- Honey Drizzle: A light drizzle of honey enhances the sweetness without overshadowing the scone’s charm. It brings a floral note that’s both comforting and uplifting.
- Coffee or Espresso: A rich coffee or smooth espresso complements the buttery flavors, creating a delightful breakfast experience. The aromas intertwine beautifully, making mornings special.
Pair any of these delightful options with your Classic Buttermilk Scones for an unforgettable treat!
Classic Buttermilk Scones Variations
Feel free to explore exciting twists on this classic recipe that will tickle your taste buds!
- Chocolate Delight: Add ½ cup of chocolate chips for a sweet, indulgent treat that melts in your mouth.
- Fruity Burst: Swap in dried cranberries or blueberries for a refreshing, fruity flavor that brightens each bite.
- Savory Cheese: Incorporate ½ to ¾ cup of grated cheese for a deliciously savory scone that pairs wonderfully with soups.
- Citrus Zest: Mix in zest from a lemon or orange to infuse a bright, sunny flavor into your scones.
- Nuts & Spices: Toss in ¼ cup of nuts or spices like cinnamon for a nutty crunch or warm undertone, elevating the entire experience.
- Herb Garden: Add 2 tablespoons of fresh chopped herbs like chives or rosemary for a fragrant and flavorful twist that delights.
- Glazed Treat: Drizzle with a simple powdered sugar glaze after baking for a touch of sweetness and shine to make them extra special.
- Heat It Up: Stir in a pinch of cayenne pepper or chopped jalapeños for a surprising kick that will wake up your palate!
How to Store and Freeze Classic Buttermilk Scones
Room Temperature: Store baked scones in an airtight container for up to 2 days to maintain their freshness and texture.
Fridge: If you have leftover scones, they can last up to 4 days in the fridge. Make sure to wrap them tightly to prevent drying out.
Freezer: Freeze unbaked scones in a Ziploc bag for up to 2 weeks. Bake straight from the freezer, adding a couple of extra minutes to the baking time.
Reheating: To enjoy leftover scones, reheat in the microwave for about 30 seconds or until warmed through. Their delightful flavor will shine again, just like when they were freshly baked!
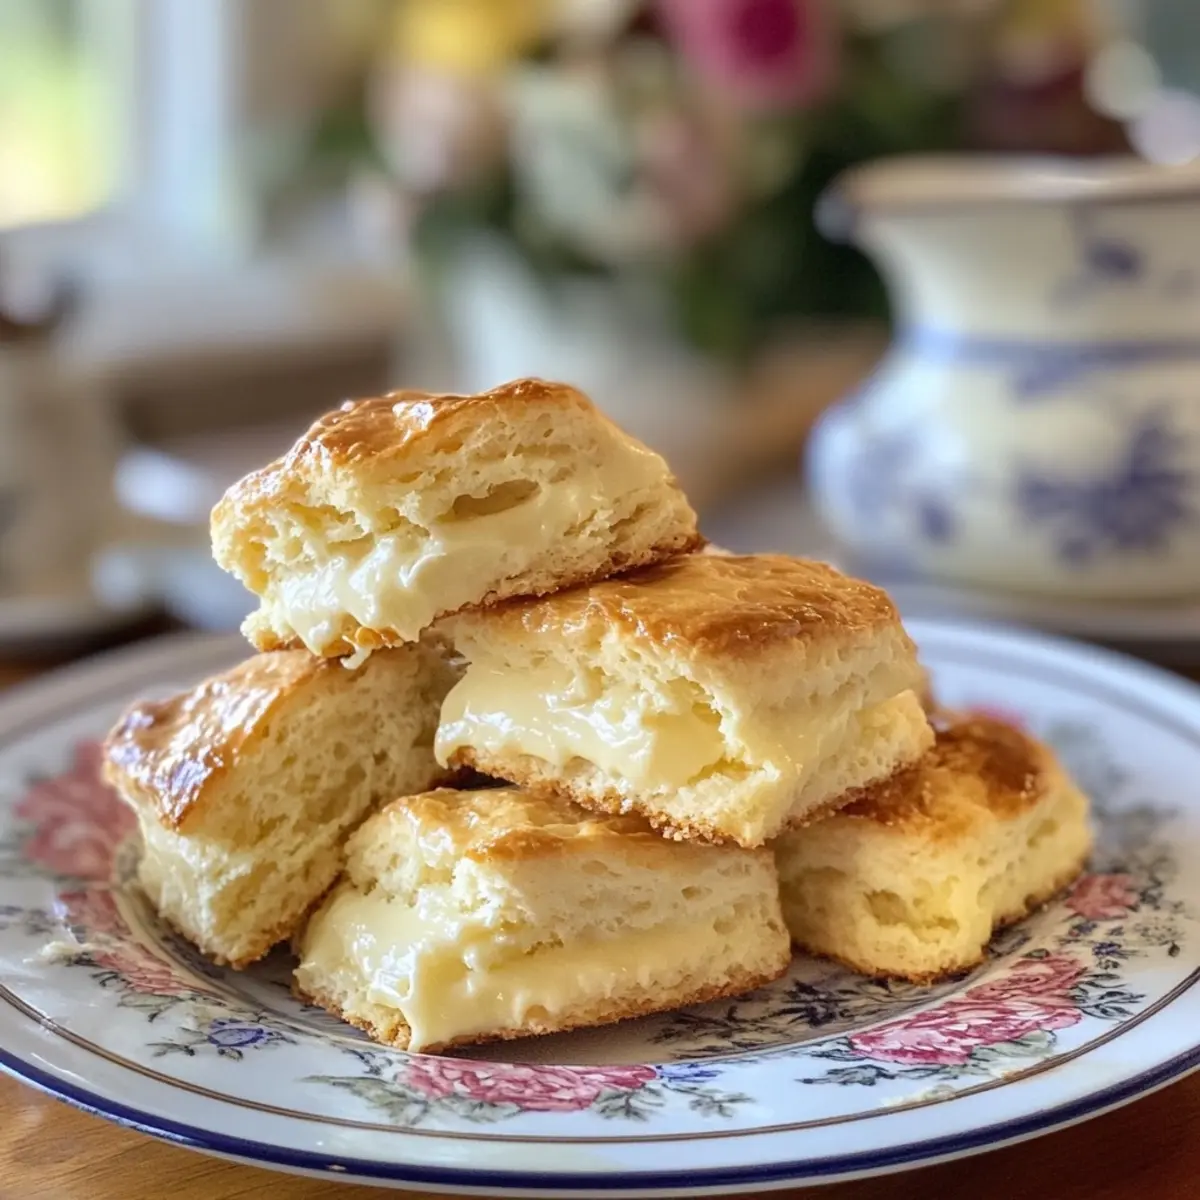
Classic Buttermilk Scones Recipe FAQs
What’s the best way to select and use buttermilk for this recipe?
Absolutely! When choosing buttermilk, look for a fresh carton with a long expiration date. You want it to have a thick, creamy consistency without any dark spots or off odors. If you don’t have buttermilk on hand, you can create a quick substitute by adding 1 tablespoon of vinegar or lemon juice to a cup of milk. Let it sit for about 5-10 minutes before using it in the recipe.
How should I store my Classic Buttermilk Scones for maximum freshness?
Store your baked scones in an airtight container at room temperature for up to 2 days. For longer preservation, keep them in the fridge, wrapped tightly, where they can last up to 4 days. If you want to freeze them, it’s best to freeze unbaked scones in a Ziploc bag for up to 2 weeks. Just remember to bake them straight from the freezer, adding a couple of extra minutes to your bake time for perfect results!
Can I freeze baked scones and how should I reheat them?
Very! You can freeze baked Classic Buttermilk Scones, but they’ll be best if consumed within a month for optimal taste and texture. To reheat, place them on a microwave-safe plate and warm them up for about 30 seconds. If you prefer a crispy exterior, pop them in the oven at 350°F (175°C) for 10 minutes. Either way, they’ll feel almost like they just came out of the oven!
What should I do if my scones turn out tough?
No worries! Tough scones typically result from overmixing the dough. Keep this in mind: mix just until the ingredients are combined. If you notice your scones are too dense, consider grating the butter as mentioned in the tips, as this helps create those flaky layers. Also, make sure your baking powder and baking soda are fresh, as the right leavening agents are essential for that perfect rise.
Are there any dietary considerations I should keep in mind for pets or allergies?
Absolutely! While these scones are delightful for humans, avoid sharing them with pets, particularly because of the baking soda and potentially harmful ingredients like chocolate. If you have nut allergies or gluten sensitivity in your household, you can substitute the all-purpose flour with a gluten-free baking blend. Always inform guests of any potential allergens in your mix-ins or toppings!
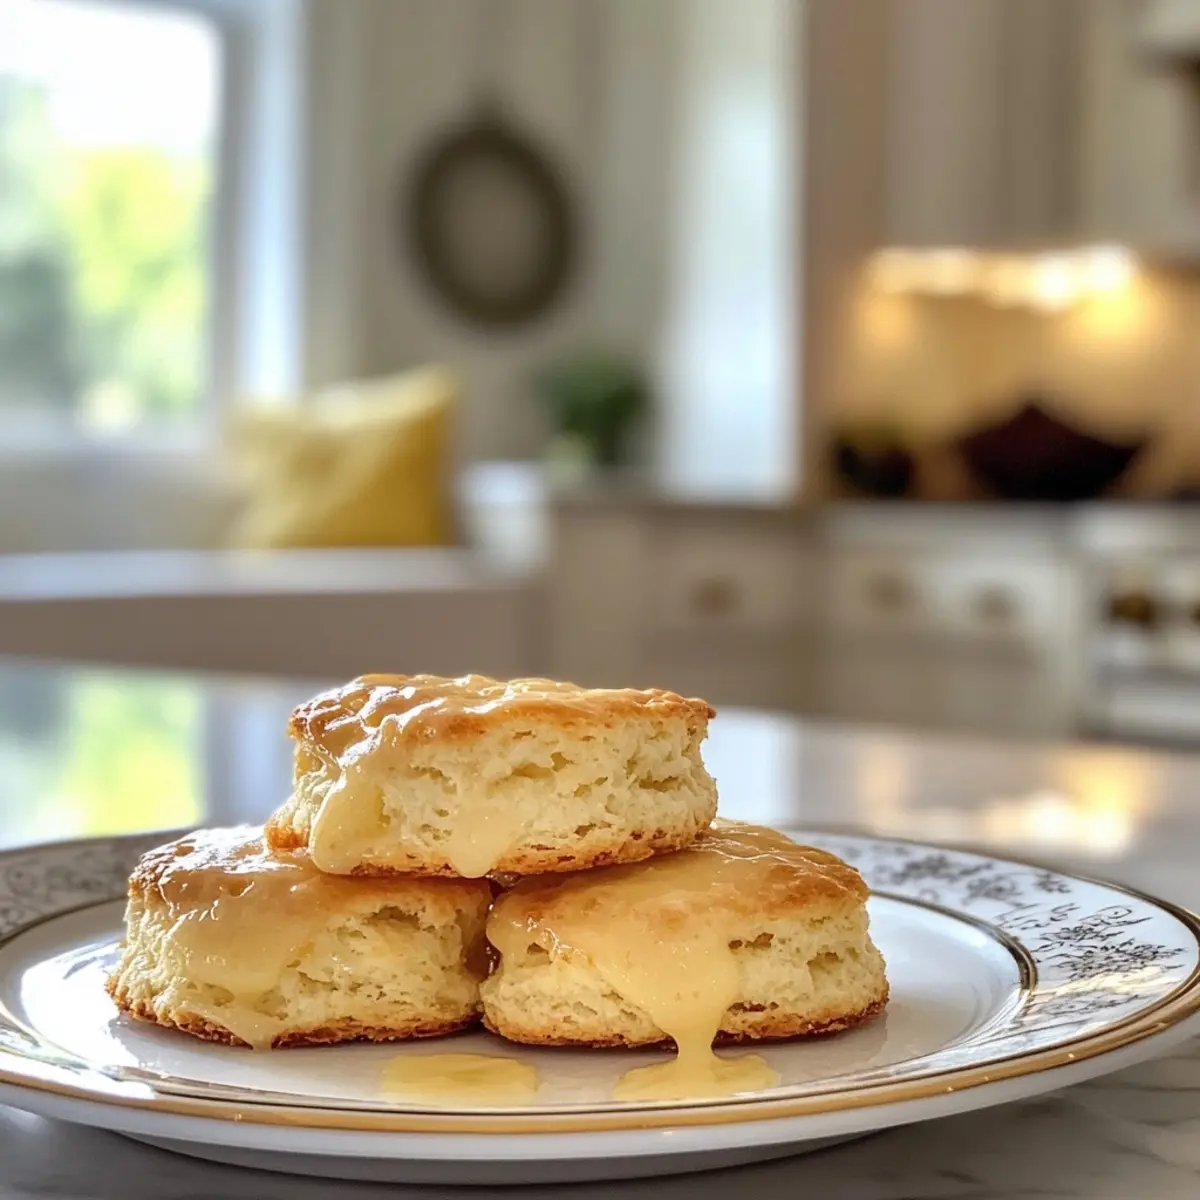
Perfectly Flaky Classic Buttermilk Scones You’ll Love
Ingredients
Equipment
Method
- Preheat your oven to 400°F (204°C) and lightly grease a baking sheet.
- Whisk together the flour, sugar, salt, baking powder, and baking soda in a large bowl.
- Cut in the frozen, grated butter until the mixture resembles coarse crumbs.
- Make a well in the center of the dry ingredients, then pour in the buttermilk. Gently mix until just combined.
- Transfer the dough to a floured surface and divide it into two equal portions. Lightly knead each piece into a ¾ inch thick, 6-inch round.
- Cut each round into 8 wedges and place them on the prepared baking sheet.
- Bake for 12-15 minutes or until the tops are lightly browned.
- Remove from the oven and serve warm.
Notes


Leave a Comment