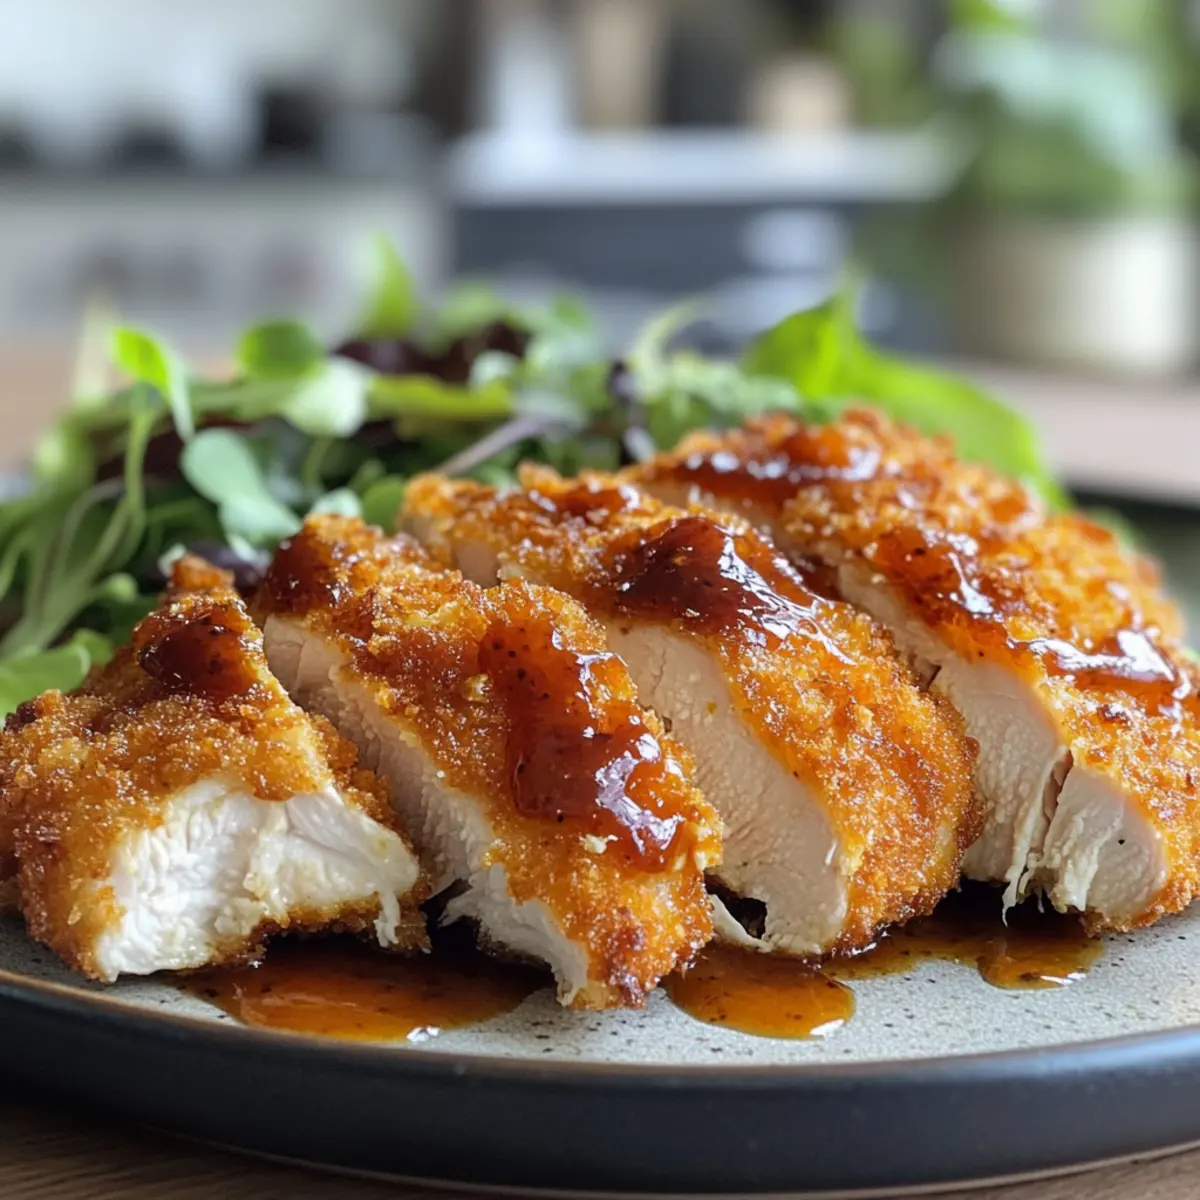
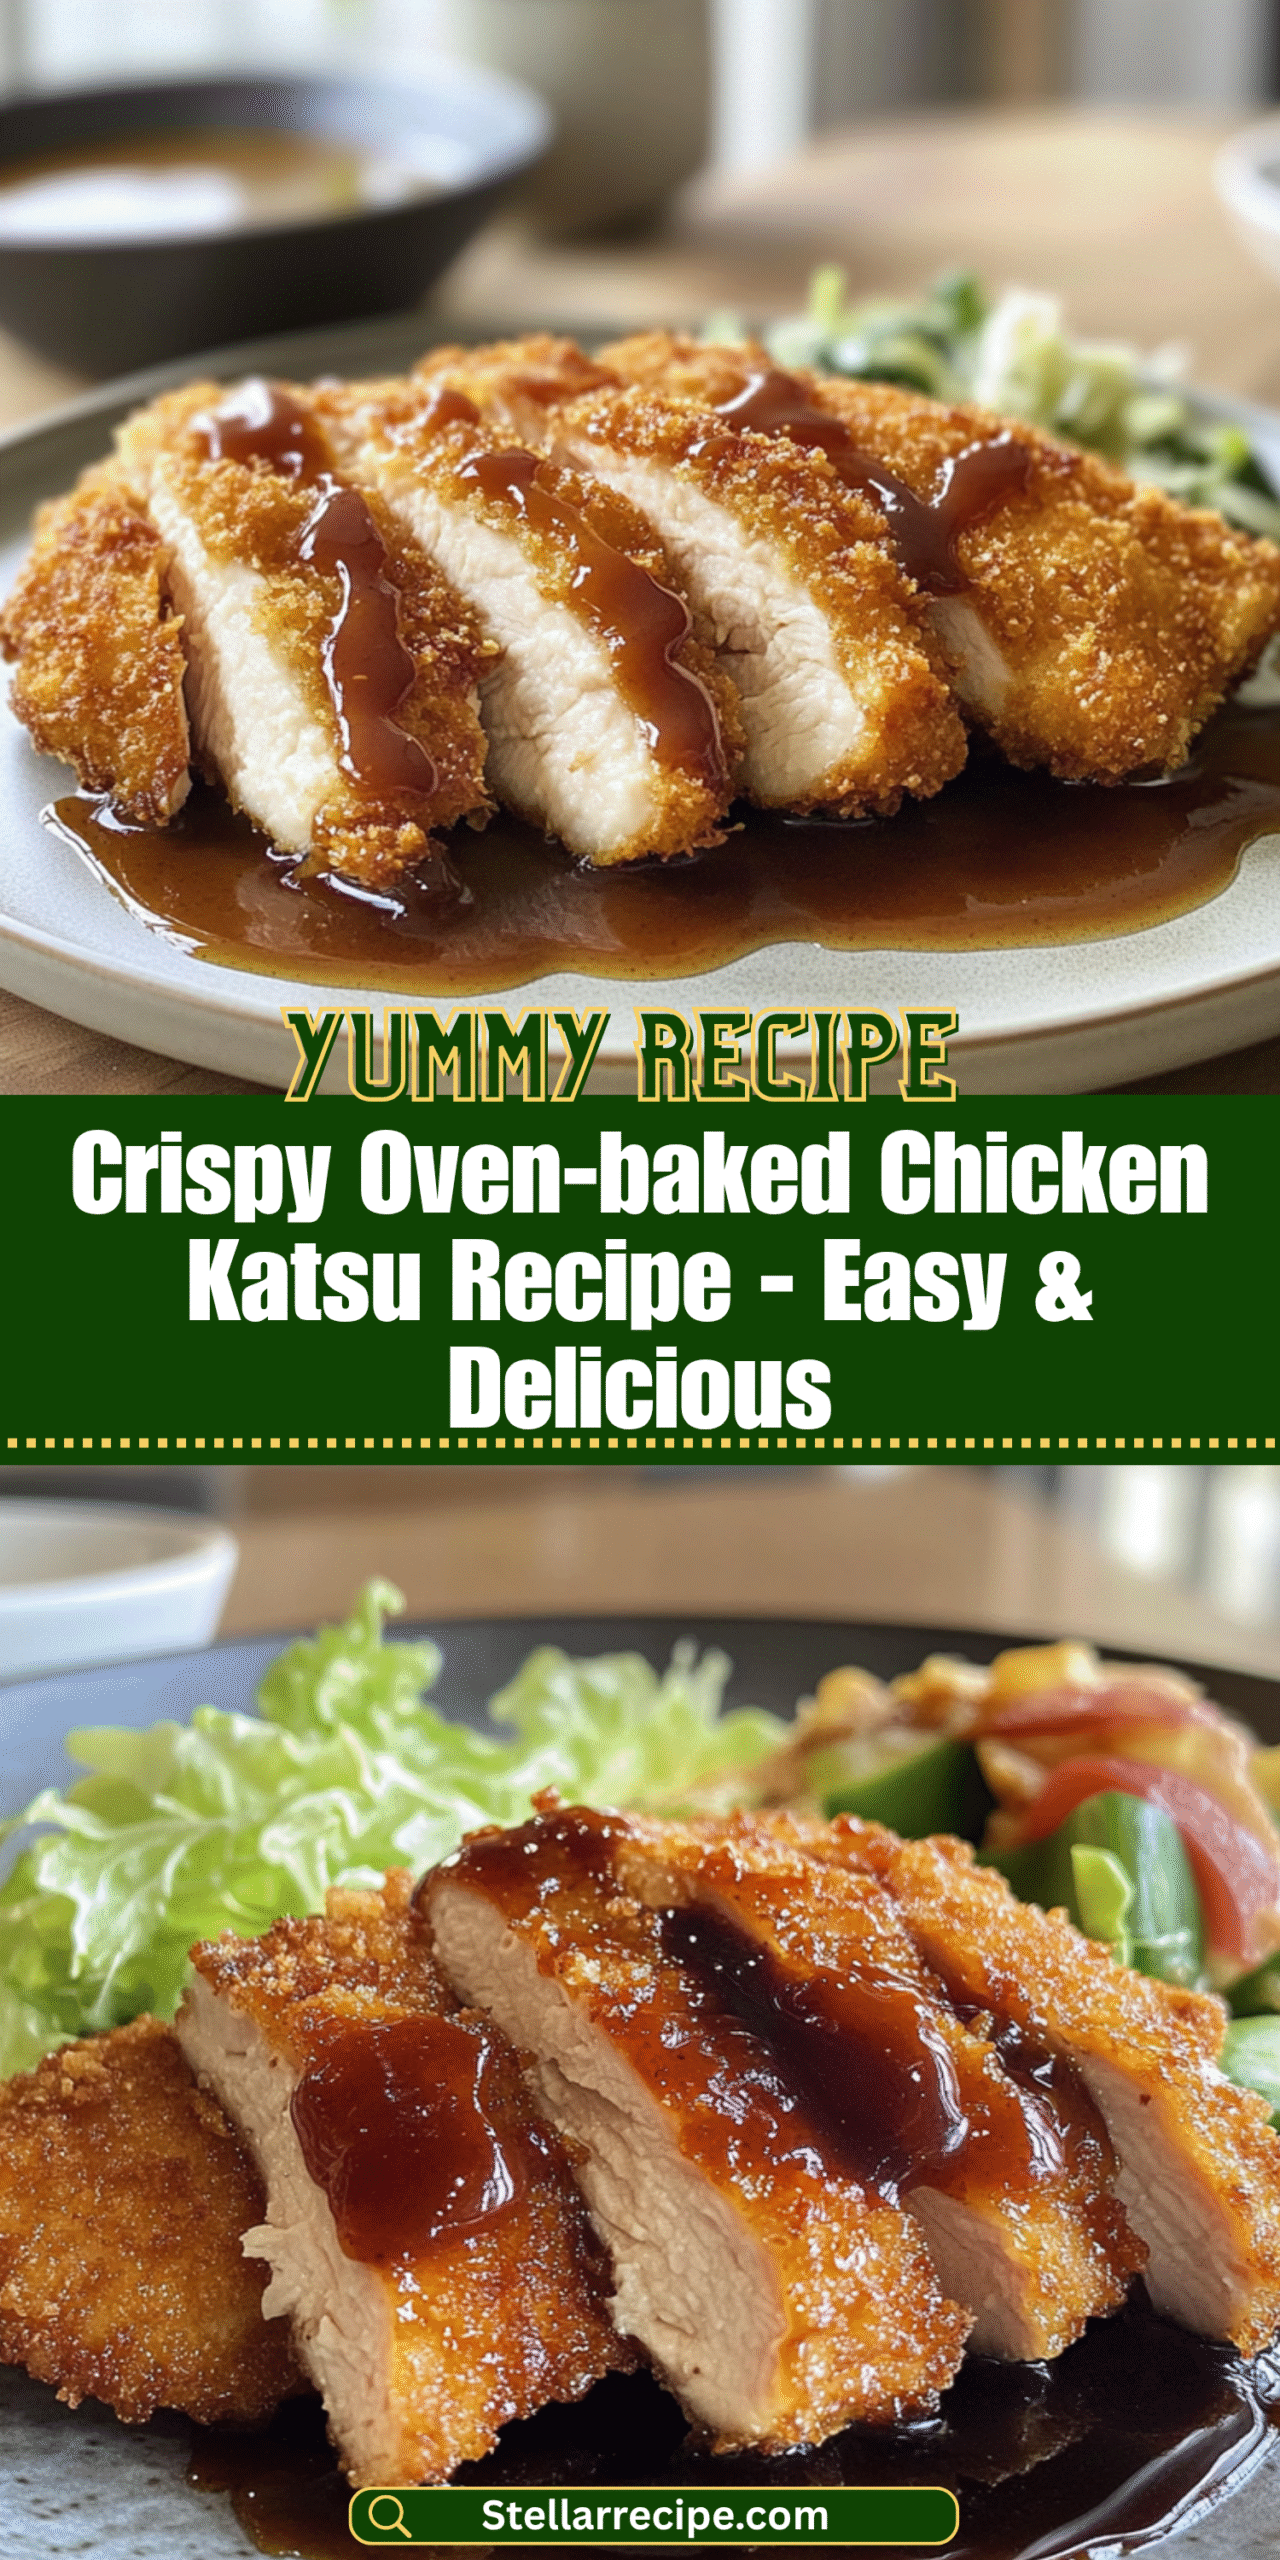
When I first discovered the joy of oven-baked chicken katsu, I was amazed by how effortlessly it transformed my weeknight dinners. The sound of crisp panko meeting hot chicken in the oven heralded a mouthwatering aroma that filled my kitchen, beckoning everyone for a taste. This Crunchy Oven-baked Chicken Katsu recipe combines the satisfying crunch of traditional katsu with a healthier twist by skipping the frying altogether.
Imagine juicy chicken breasts enveloped in a golden layer of panko breadcrumbs, each bite offering a delightful mix of textures without the extra grease. It’s the perfect dish for those evenings when you want something that’s easy to prepare yet elegant enough to impress. Whether you’re gathering for a cozy family dinner or hosting friends for a casual get-together, this recipe guarantees a crowd-pleasing experience. Get ready to savor every bite while enjoying the comfort of homemade flavors!

Why will you love this Crispy Oven-baked Chicken Katsu Recipe?
Deliciously Healthier: This recipe gives you all the indulgent flavors of traditional katsu, but in a guilt-free way with an oven-baked method.
Easy Preparation: Perfect for busy weeknights, with minimal hands-on time—just coat and bake!
Irresistible Crunch: The panko crust provides that signature crunch without the fuss of frying.
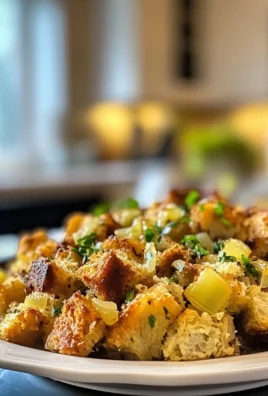
Versatile Serving: Pair it with shredded cabbage and steaming rice for a complete meal or get creative with sides!
Crowd-Pleaser: Ideal for family gatherings or casual dinners with friends, this dish will surely impress everyone at the table.
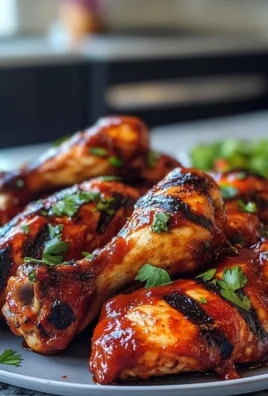
Elevate your meal tonight with this fantastic Crunchy Oven-baked Chicken Katsu! For additional flavor, consider serving it alongside a delicious Bang Bang Chicken.
Crispy Oven-baked Chicken Katsu Ingredients
For the Chicken
• Boneless Chicken Breasts – The main protein; for a leaner option, opt for skinless chicken.
• Salt and Pepper – Essential seasoning to enhance the chicken’s natural flavor; adjust to your taste preferences.
For the Coating
• All-Purpose Flour – Acts as the base coating; you can use gluten-free flour for a suitable substitute.
• Eggs – Binds everything together; feel free to use a vegan egg replacement for a plant-based twist.
• Panko Breadcrumbs – Creates that coveted crunchy texture; crushed cornflakes can be used for a different taste.
For Serving
• Tonkatsu Sauce – Provides a sweet-savory element that perfectly complements the dish; consider using soy sauce or teriyaki as alternatives.
Enjoy creating this Crispy Oven-baked Chicken Katsu Recipe that’s easy and irresistibly delicious!
How to Make Crunchy Oven-baked Chicken Katsu
-
Preheat Oven: Begin by setting your oven to 400°F (200°C). This ensures a perfectly cooked katsu. While heating, prepare a baking sheet by giving it a light spray with nonstick cooking spray.
-
Season Chicken: Next, take your boneless chicken breasts and coat them generously with salt and pepper. This primary seasoning step elevates the flavor of the chicken as it bakes.
-
Set Up Dredging Station: Now, it’s time to arrange your dredging station! In one dish, spread out the flour; whisk the eggs in another; and place the panko breadcrumbs in a third bowl. This organized setup makes coating the chicken simple and efficient.
-
Coat Chicken: Take each chicken breast and dredge it in flour, ensuring an even coating. Then, dip it into the eggs and finally, cover with panko breadcrumbs, pressing lightly to adhere well. This triple-layer approach guarantees that wonderful crunch.
-
Bake: Place the coated chicken onto the prepared baking sheet and slide it into the oven. Bake for 20-25 minutes, or until they are golden brown and reach an internal temperature of at least 165°F (75°C). Flip the pieces halfway through for maximum crispiness.
-
Serve: Once done, remove the chicken from the oven and let it rest for a few minutes before slicing. Serve it drizzled with tonkatsu sauce over rice or alongside fresh vegetables for a complete meal.
Optional: Pair with a side of shredded cabbage for a refreshing crunch.
Exact quantities are listed in the recipe card below.
What to Serve with Crispy Oven-baked Chicken Katsu?
A delightful balance of flavors and textures can turn your meal into a memorable experience.
- Steamed Rice: This simple side absorbs the rich tonkatsu sauce, making each bite creamy and satisfying.
- Fresh Shredded Cabbage: The crunchy, fresh cabbage adds a refreshing element that contrasts beautifully with the crispy chicken.
- Miso Soup: Warm and savory, a bowl of miso soup offers lightness to the meal while enhancing the Japanese theme.
- Sesame Green Beans: Tender green beans tossed with sesame oil provide a nutty flavor and vibrant color alongside your katsu.
- Cucumber Salad: A light and zesty cucumber salad with a hint of rice vinegar adds brightness and balances the richness of the dish.
- Pickled Ginger: This gut-friendly side offers a sharp, tangy taste that cleanses the palate between bites.
- Chilled Sake or Green Tea: Sip on either beverage to enhance the overall dining experience, with their flavors complementing the katsu nicely.
- Chocolate Mochi Dessert: For a sweet finish, indulge in chewy, chocolate-dusted mochi that adds a playful finish to your meal.
Crispy Oven-baked Chicken Katsu Variations
Feel free to explore unique twists on this delightful dish that will make it even more special!
-
Gluten-Free: Substitute all-purpose flour and panko with your favorite gluten-free alternatives to accommodate dietary restrictions.
-
Spicy Kick: Add a dash of cayenne pepper to the flour mixture for a subtle heat that elevates the flavor profile deliciously.
-
Herb-Infused: Mix dried herbs like oregano or thyme into the panko for an aromatic flavor that enhances the dish.
-
Crispy Tofu: Replace chicken with thick slices of firm tofu, following the same coating method; this creates a savory vegetarian option.
-
Cheesy Delight: Incorporate grated Parmesan cheese into the panko for an indulgent, savory crust that will make you smile with every bite.
-
Baked Sweet Potatoes: Serve the chicken with delicious baked sweet potatoes on the side for a nutritious twist that complements the flavors perfectly.
-
Asian Slaw: Pair the katsu with a fresh, tangy Asian slaw made of cabbage, carrots, and a sesame dressing for an extra crunch on the side.
-
Citrus Drizzle: For a refreshing finish, drizzle a bit of fresh lime or orange juice over the cooked katsu to brighten up the savory flavors.
Make Ahead Options
These Crispy Oven-baked Chicken Katsu are perfect for meal prep enthusiasts! You can prepare the chicken by coating it with flour, egg, and panko up to 24 hours in advance. Just place the coated chicken on a baking sheet covered with parchment paper and refrigerate. This method helps maintain that delightful crunch when you bake them straight from the fridge. When you’re ready to serve, simply preheat your oven to 400°F (200°C) and bake the chicken for 25-30 minutes (adding a few minutes if it’s coming straight from the fridge) until golden and an internal temperature of at least 165°F (75°C) is reached. Enjoy the comforting flavors of homemade katsu without the stress on busy weeknights!
Storage Tips for Crispy Oven-baked Chicken Katsu
Fridge: Store leftovers in an airtight container for up to 3 days to maintain freshness and flavor.
Freezer: You can freeze baked chicken katsu for up to 3 months. Wrap each piece tightly in plastic wrap, then place in a freezer bag.
Reheating: To reclaim that crispy texture, reheat in a preheated oven at 350°F (175°C) for about 10-15 minutes until heated through.
Room Temperature: Do not leave chicken katsu out for longer than 2 hours to prevent bacterial growth. Enjoy your delicious Crispy Oven-baked Chicken Katsu recipe with confidence!
Expert Tips for Crispy Oven-baked Chicken Katsu
-
Use Panko: Ensure you opt for panko breadcrumbs; they’re the secret to achieving that light and crispy texture that’s distinctive in katsu.
-
Spray for Crispiness: Don’t forget to spray the coated chicken with cooking oil before baking. It enhances the crunchy exterior and promotes even browning.
-
Avoid Overcrowding: Spread the chicken pieces evenly on the baking sheet. Overcrowding will steam the chicken instead of allowing it to bake perfectly crisp.
-
Rest Before Serving: Let your chicken katsu rest for a few minutes after baking. This step helps retain juices, preventing it from drying out.
-
Season Wisely: Adjust the salt and pepper seasoned on the chicken to your liking. A subtle, well-rounded flavor enhances the overall dish without overpowering it.
Enjoy your cooking adventure with this Crispy Oven-baked Chicken Katsu recipe!

Crispy Oven-baked Chicken Katsu Recipe FAQs
How do I choose the best chicken breasts for this recipe?
Absolutely! For this recipe, opt for fresh, boneless, skinless chicken breasts, as they provide the best flavor and texture. Look for breasts that are plump and firm, without any dark spots or unpleasant odors. If you can, choose organic or free-range options for a healthier alternative.
How should I store leftovers of my Crispy Oven-baked Chicken Katsu?
Leftovers can be stored in an airtight container in the fridge for up to 3 days. It’s important to let the chicken cool down to room temperature before sealing it to avoid condensation, which can make the breading soggy.
Can I freeze the unbaked chicken katsu?
Definitely! To freeze, prepare the chicken katsu up to the point of coating. Place each piece on a baking sheet lined with parchment paper and freeze until solid, about 1-2 hours. Then, wrap each piece tightly in plastic wrap and transfer them into a freezer bag for up to 3 months. When you’re ready to bake, there’s no need to thaw; just add a couple of extra minutes to the baking time.
What should I do if my chicken katsu isn’t crispy?
Very! If your chicken katsu turns out soggy, ensure you’ve used panko breadcrumbs instead of regular ones; panko provides a much lighter crunch. Also, make sure to spray the coated chicken with cooking oil before baking to encourage crispiness. If the pieces are too close together on the baking sheet, they could steam instead of bake, so give them some space to crisp up nicely.
Can my dog eat chicken katsu?
While boneless, cooked chicken can be a great treat for dogs in moderation, the breading, tonkatsu sauce, and seasonings are not suitable for pets. It’s best to keep this delicious dish as a human-only indulgence. Always consult your vet before adding anything new to your dog’s diet!
Is there a gluten-free option for this recipe?
Absolutely! You can substitute the all-purpose flour with a gluten-free flour blend, and look for gluten-free panko breadcrumbs, which are available at many grocery stores. This way, you can enjoy the Crispy Oven-baked Chicken Katsu without worrying about gluten!

Crispy Oven-baked Chicken Katsu Recipe - Easy & Irresistibly Delicious
Ingredients
Equipment
Method
- Preheat your oven to 400°F (200°C) and prepare a baking sheet by spraying it with nonstick cooking spray.
- Season chicken breasts generously with salt and pepper.
- Set up a dredging station with flour, whisked eggs, and panko breadcrumbs.
- Dredge each chicken breast in flour, dip in eggs, then coat with panko breadcrumbs.
- Place coated chicken on the prepared baking sheet and bake for 20-25 minutes or until golden brown and cooked through.
- After baking, let the chicken rest for a few minutes before slicing, and serve with tonkatsu sauce.
Notes

Leave a Comment