
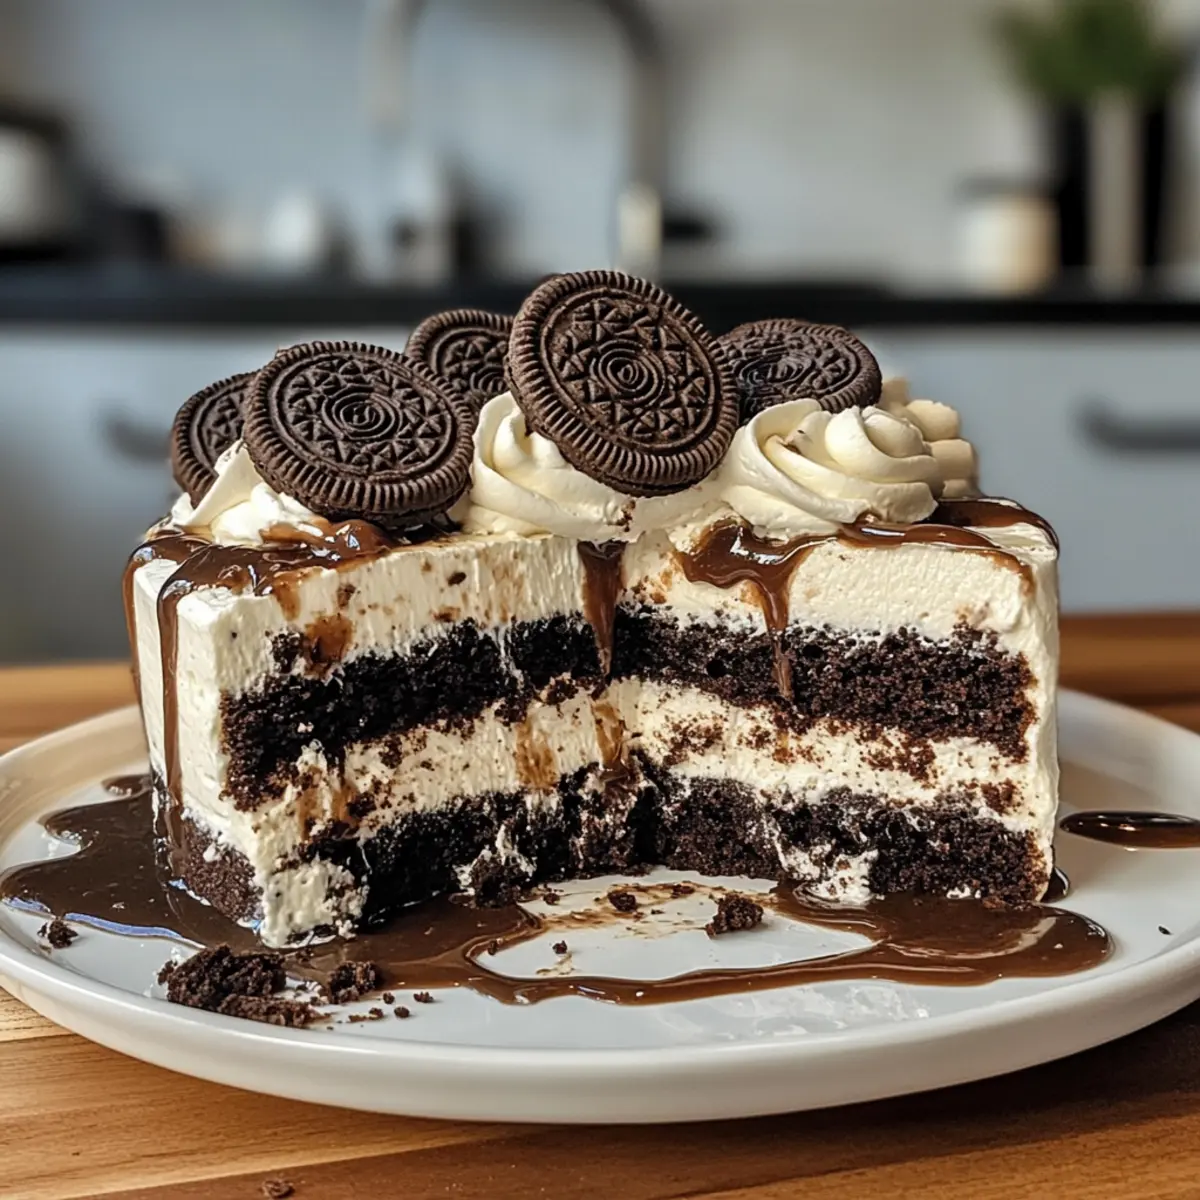
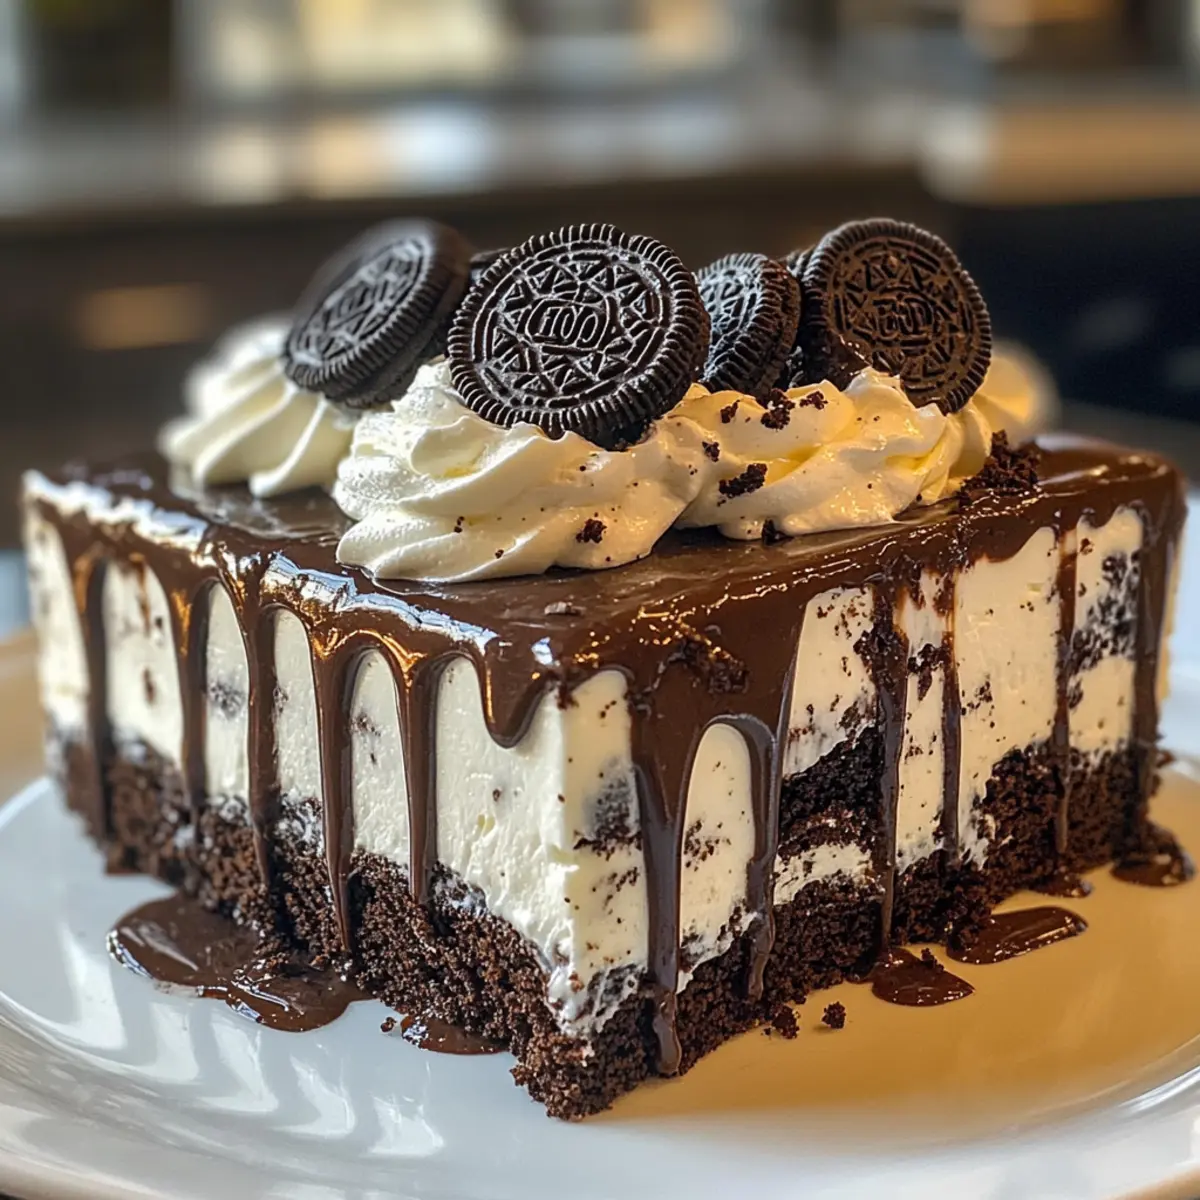
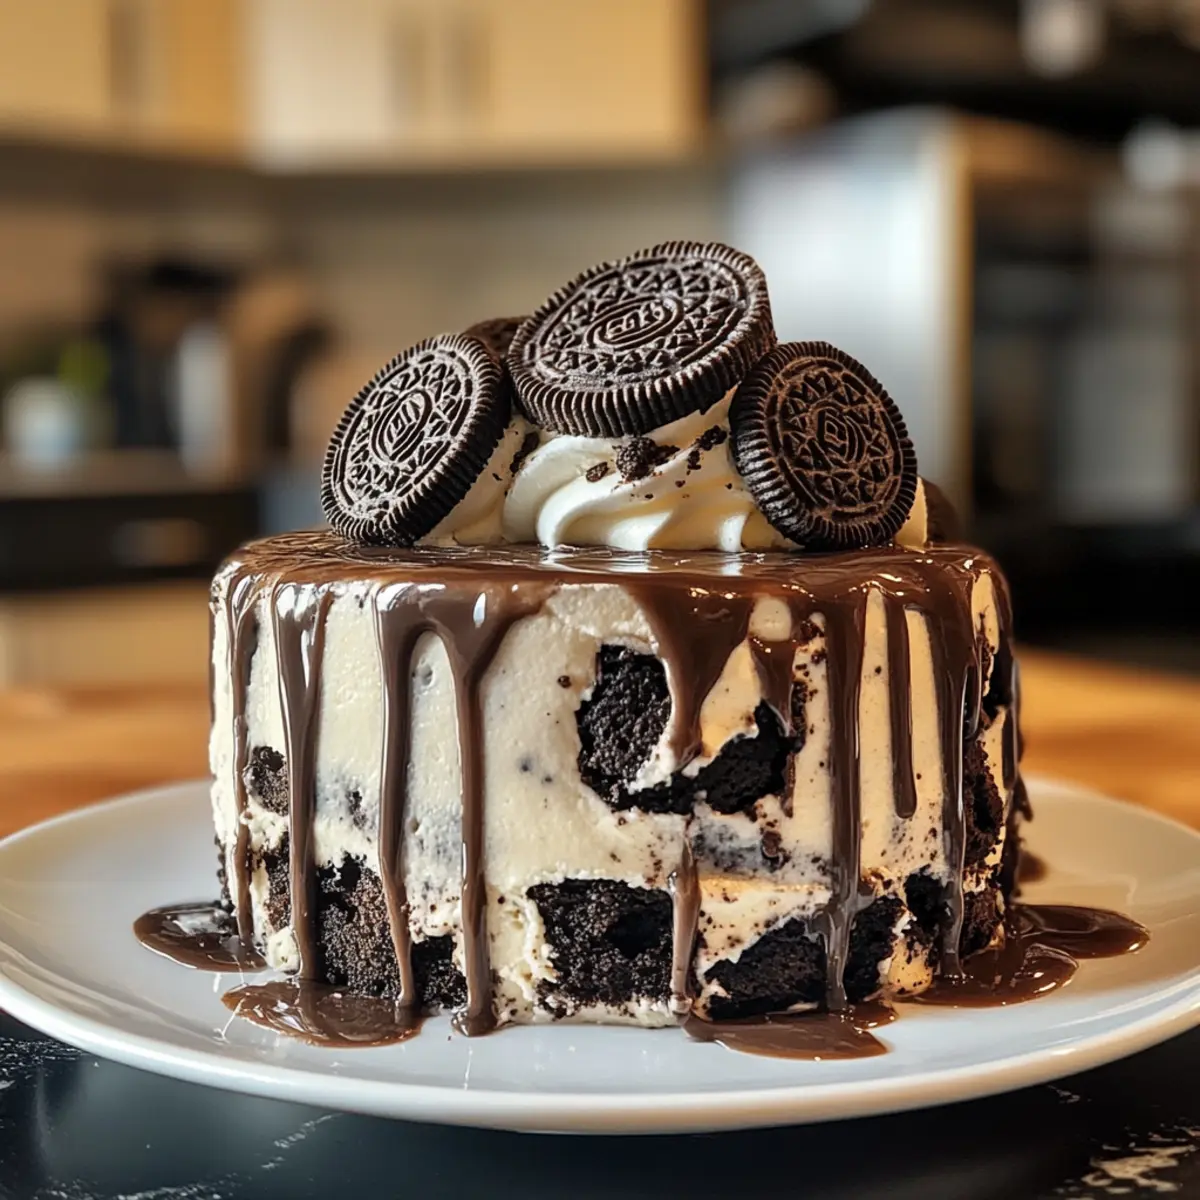
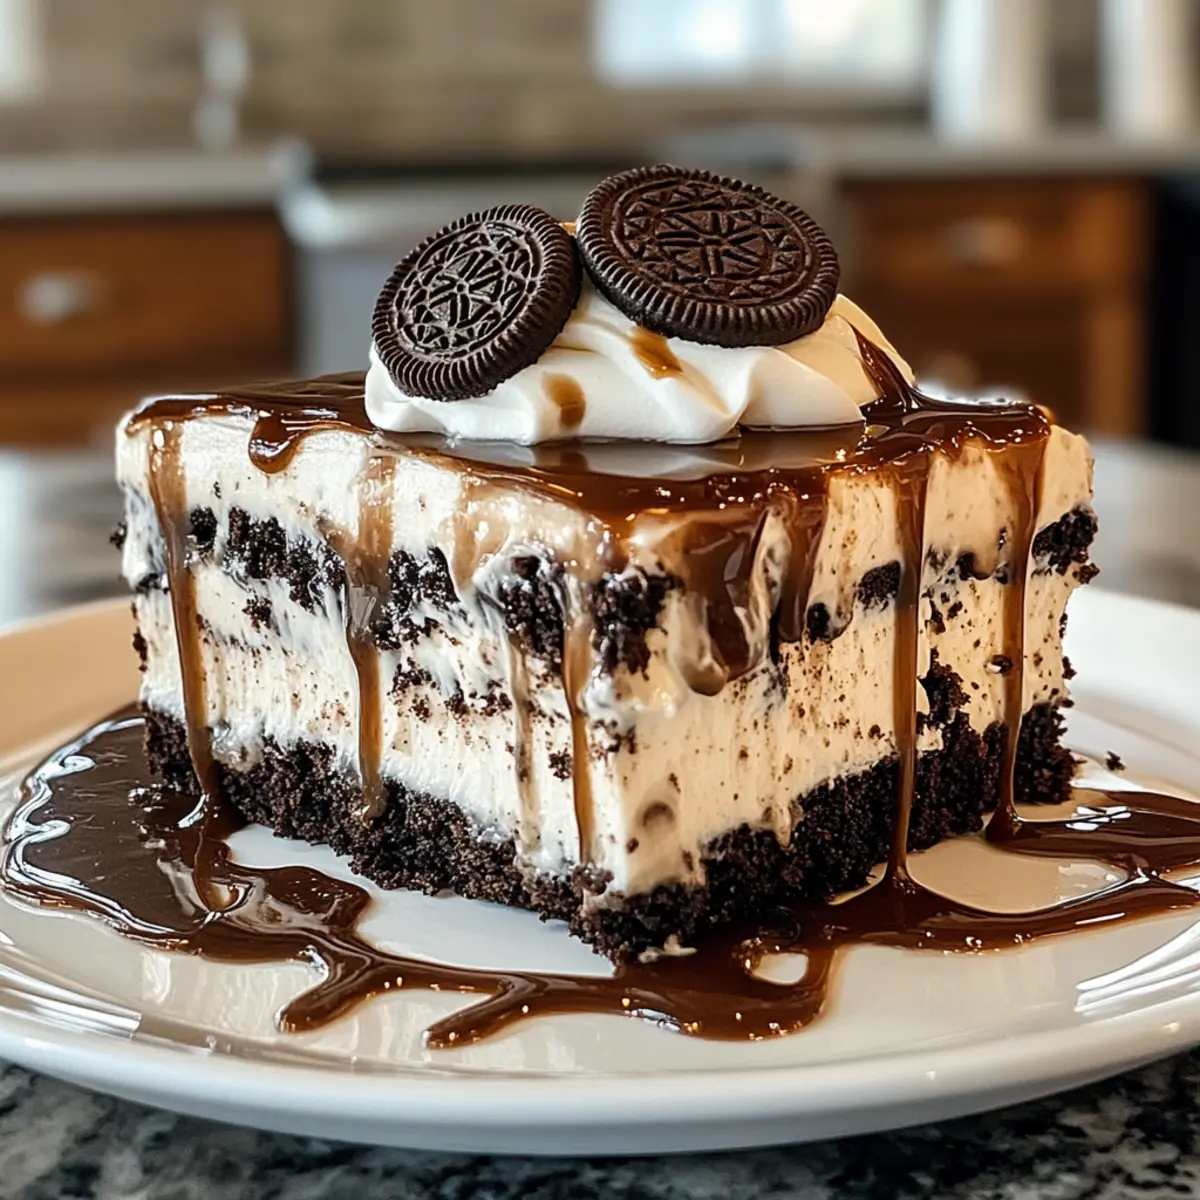
After a long week of cooking and cleaning, I found myself yearning for a sweet indulgence that required zero baking. Enter the Indulgent & Easy No Bake Oreo Dessert. This delightful creation brings together the familiar crunch of Oreos and a creamy, dreamy filling that will transport your taste buds to dessert heaven.
Perfect for unexpected gatherings or a cozy night in, this dessert is an absolute crowd-pleaser with its rich flavors and simple preparation. Imagine layering crunchy Oreo crumbs with smooth cream cheese and fluffy whipped topping, all while skipping the heat of the oven. It’s a stylish solution for anyone looking to impress without all the fuss.
With just a few basic ingredients and minimal time, this no-bake wonder is sure to become a staple in your recipe roster. So grab your Oreos, and let’s dive into this sweet escape!
Why Love the Indulgent & Easy No Bake Oreo Dessert?
Simply Irresistible: This dessert combines beloved Oreos with a creamy filling, creating a dreamy treat that disappears fast!
No Baking Required: Perfect for those short on time or who prefer easy recipes, this no-bake dessert is a lifesaver.
Quick Prep: Ready in just a few minutes, you can whip it up and pop it in the fridge without breaking a sweat.
Versatile Options: Customize with flavored Oreos or add a delicious drizzle to truly make it your own.
Crowd Pleaser: Serve it at potlucks or family gatherings, and watch as everyone reaches for seconds!
For an equally delightful companion, consider pairing it with a side of Soft Baked White cookies for extra sweetness.
Indulgent & Easy No Bake Oreo Dessert Ingredients
• For the Crust
- Oreos – The star of the dessert; provides flavor and texture. Use about 24 for crust and topping. Substitute with flavored Oreos for variety.
- Butter – Unsalted butter binds the Oreo crumbs to create a crust. Melted butter is preferred for easy mixing.
• For the Filling
- Cream Cheese – Adds richness and stability to the filling; ensure it’s softened to room temperature for the best blend.
- Powdered Sugar – Sweetens the filling, ensuring a smooth consistency; about 1 cup is recommended for balance.
- Whipped Topping – Contributes a light, fluffy texture to the dessert; homemade can be used for a gourmet touch.
This Indulgent & Easy No Bake Oreo Dessert captures the essence of sweetness and simplicity, making it a must-try for dessert lovers everywhere!
How to Make the Indulgent & Easy No Bake Oreo Dessert
-
Crush the Oreos: Start by smashing about 20 Oreos into fine crumbs using a food processor or a rolling pin in a zip-top bag. This will be the base for your dessert’s delightful crust.
-
Mix the Crust: Combine the crushed Oreos with melted unsalted butter in a bowl. Stir until the mixture resembles wet sand, then press it firmly into a greased 9×9 inch pan to form your base.
-
Prepare the Filling: In a mixing bowl, beat softened cream cheese with powdered sugar until smooth and creamy. Make sure to scrape down the sides for a well-blended filling.
-
Fold in the Topping: Gently fold in half of the whipped topping until well incorporated. This adds a light, airy texture to your creamy filling that balances the richness perfectly.
-
Layer it Up: Spread half of the cream cheese mixture evenly over the Oreo crust. Sprinkle a layer of crushed Oreos on top, followed by the remaining cream cheese mixture.
-
Finish with Whipped Topping: Spread the rest of the whipped topping over the layers for a fluffy finish. Top with crumbled Oreos for an added crunch and visual appeal.
-
Chill: Cover the dish with plastic wrap and refrigerate for at least 4 hours, but overnight is even better to let the flavors meld beautifully.
-
Serve & Enjoy: Slice into squares and serve chilled, watching as your guests indulge in this decadent treat that brings smiles all around.
Optional: Garnish with fresh berries or a sprinkle of mint for a pop of color.
Exact quantities are listed in the recipe card below.
What to Serve with Indulgent & Easy No Bake Oreo Dessert?
Imagine a delightful gathering where every bite of your dessert leads to smiles and happiness.
-
Fresh Berries: Bursting with sweetness, fresh strawberries or raspberries add a refreshing contrast to the creamy layers of the dessert.
-
Mint Garnish: A sprinkle of fresh mint leaves brings a delightful pop of color and a refreshing aroma that enhances flavor.
-
Chocolate Sauce: Drizzling warm chocolate sauce over each square creates an indulgent experience that chocolate lovers will simply adore.
-
Coffee or Espresso: The rich, bold flavors of coffee pair beautifully, enhancing the chocolatey notes and offering a perfect finish after a sweet treat.
-
Whipped Cream: Serve a dollop of homemade whipped cream on top to add extra lightness and a creamy touch to every bite.
-
Ice Cream Floats: For a fun, nostalgic addition, serve alongside a scoop of vanilla ice cream floating in a glass of soda or sweetened milk for a delightful contrast in textures.
Indulgent & Easy No Bake Oreo Dessert Variations
Feel free to add your own twist to this delightful no-bake classic, enhancing flavors and textures in delightful ways!
-
Minty Fresh: Use mint Oreos instead of regular ones for a refreshing flavor that’s perfect for summer gatherings. The subtle mint will surprise and delight!
-
Peanut Butter Swirl: Incorporate peanut butter into the cream cheese filling for a nutty edge. Simply blend in ½ cup of creamy peanut butter until smooth and irresistible.
-
Nutty Crunch: Add crushed nuts, like walnuts or almonds, between layers for an irresistible crunch. A delightful contrast to the creamy filling will keep everyone coming back for more!
-
Choco Drizzle: Drizzle melted chocolate over the top before serving for a decadent finish. It adds a luxurious touch and enhances the dessert’s already rich flavor.
-
Caramel Delight: Swirl in caramel sauce into the cream cheese mixture for an extra layer of sweetness. Let those flavors meld together for a delicious journey for your taste buds!
-
Fruit Fusion: Top the dessert with fresh berries or sliced bananas before serving for a fruity contrast. The freshness brightens the indulgence, creating a delightful balance.
-
Savory Twist: Introduce a pinch of sea salt to the cream cheese filling for a sweet-salty experience that elevates the flavor profiles beautifully.
-
Coconut Variation: Fold shredded coconut into the cream cheese mixture for a tropical flair. It adds a chewy texture and pairs wonderfully with the chocolatey Oreo goodness.
Make Ahead Options
These Indulgent & Easy No Bake Oreo Dessert layers are perfect for meal prep, allowing you to indulge while saving precious time! You can prepare the crust (crushed Oreos mixed with melted butter) up to 24 hours in advance, simply press it into your pan, cover, and refrigerate. The filling can also be mixed and stored in the fridge for up to 3 days before layering. For best results, store the dessert in an airtight container to maintain freshness and texture. When ready to serve, simply layer your filling, top with whipped cream, and refrigerate for a few hours to ensure it’s chilled and set. This way, you’ll have a delightful treat ready to impress without the last-minute rush!
Expert Tips for Indulgent & Easy No Bake Oreo Dessert
-
Softened Cream Cheese: Ensure your cream cheese is at room temperature to achieve a smooth filling; cold cream cheese can result in lumps.
-
Crumb Consistency: Use a food processor for evenly crushed Oreos, but if you prefer a hands-on approach, a rolling pin in a zip-top bag works beautifully too.
-
Flavor Adjustment: If experimenting with flavored Oreos, taste the cream cheese filling first to adjust the sweetness; some flavors might require less sugar.
-
Chill Time Matters: Allowing the dessert to sit overnight enhances the flavor. Don’t rush this step for the best indulgent experience.
-
Garnish Delightfully: Elevate presentation by garnishing with fresh berries or a sprig of mint before serving; it adds a refreshing touch to the dessert.
Storage Tips for Indulgent & Easy No Bake Oreo Dessert
-
Fridge: Keep your dessert covered in an airtight container for up to 5 days to maintain freshness and texture. The flavors will blend beautifully over time.
-
Make-Ahead: For the best flavor, prepare the Indulgent & Easy No Bake Oreo Dessert a day in advance. This will ensure it has time to chill and set up perfectly.
-
Freezer: If you want to enjoy this delightful treat later, you can freeze individual portions for up to 2 months. Wrap each piece tightly in plastic wrap before placing in a freezer-safe container.
-
Reheating: Since this dessert is served chilled, there’s no need to reheat. Simply remove from the fridge or freezer shortly before serving for the best experience.
Indulgent & Easy No Bake Oreo Dessert Recipe FAQs
How do I choose ripe ingredients for my No Bake Oreo Dessert?
Absolutely! The main ingredient, Oreos, doesn’t require ripeness since they’re shelf-stable. However, ensure your cream cheese is fresh and not near its expiration date for the best taste and texture. Look for cream cheese that’s soft to the touch when it’s at room temperature; this makes blending easier and achieves the smoothest filling!
What’s the best way to store leftovers?
Keep your Indulgent & Easy No Bake Oreo Dessert covered in an airtight container in the fridge for up to 5 days. This helps maintain its creamy texture and flavors, which continue to meld beautifully over time. Just make sure it’s well sealed to avoid absorbing any fridge odors!
Can I freeze the No Bake Oreo Dessert, and if so, how?
Yes! You can freeze individual portions of the dessert for up to 2 months. Wrap each slice tightly in plastic wrap and then place them in a freezer-safe container. When you’re ready to enjoy, let it thaw in the fridge overnight or for a couple of hours at room temperature. This way, you can indulge in this treat anytime!
What can I do if the cream cheese mixture isn’t smooth?
If you find lumps in your cream cheese mixture, it’s likely because the cream cheese wasn’t softened enough. Next time, make sure the cream cheese is at room temperature and beat it well before adding powdered sugar. If you’re in a pinch, you can also use a hand mixer or whip until smooth to save the mixture! Don’t be afraid to keep blending until you achieve that velvety texture.
Is this dessert safe for those with food allergies?
This recipe contains dairy and gluten, making it unsuitable for those with dairy or gluten allergies. If you’re looking for an alternative, consider using gluten-free Oreo cookies and a dairy-free cream cheese substitute. Also, double-check labels to ensure that all ingredients are safe for your dietary needs!
How do I know if I’ve crushed the Oreos properly?
The Oreos should be crushed into fine crumbs that resemble wet sand when mixed with melted butter. If you have larger clumps, some may not bind well in the crust. If using a food processor, pulse until fine, and if using a rolling pin, aim for small even pieces in a zip-top bag—the more uniform, the better they hold together!
Indulgent & Easy No Bake Oreo Dessert That Steals the Show
Ingredients
Equipment
Method
- Crush the Oreos into fine crumbs using a food processor or a rolling pin in a zip-top bag.
- Combine the crushed Oreos with melted unsalted butter in a bowl and mix until it resembles wet sand.
- Press the crumb mixture firmly into a greased 9x9 inch pan to form the crust.
- Beat softened cream cheese with powdered sugar until smooth and creamy in a mixing bowl.
- Gently fold in half of the whipped topping until well incorporated.
- Spread half of the cream cheese mixture over the Oreo crust and sprinkle a layer of crushed Oreos.
- Top with the remaining cream cheese mixture and spread the rest of the whipped topping over all.
- Cover with plastic wrap and refrigerate for at least 4 hours, preferably overnight.
- Slice into squares and serve chilled.
Notes


Leave a Comment