
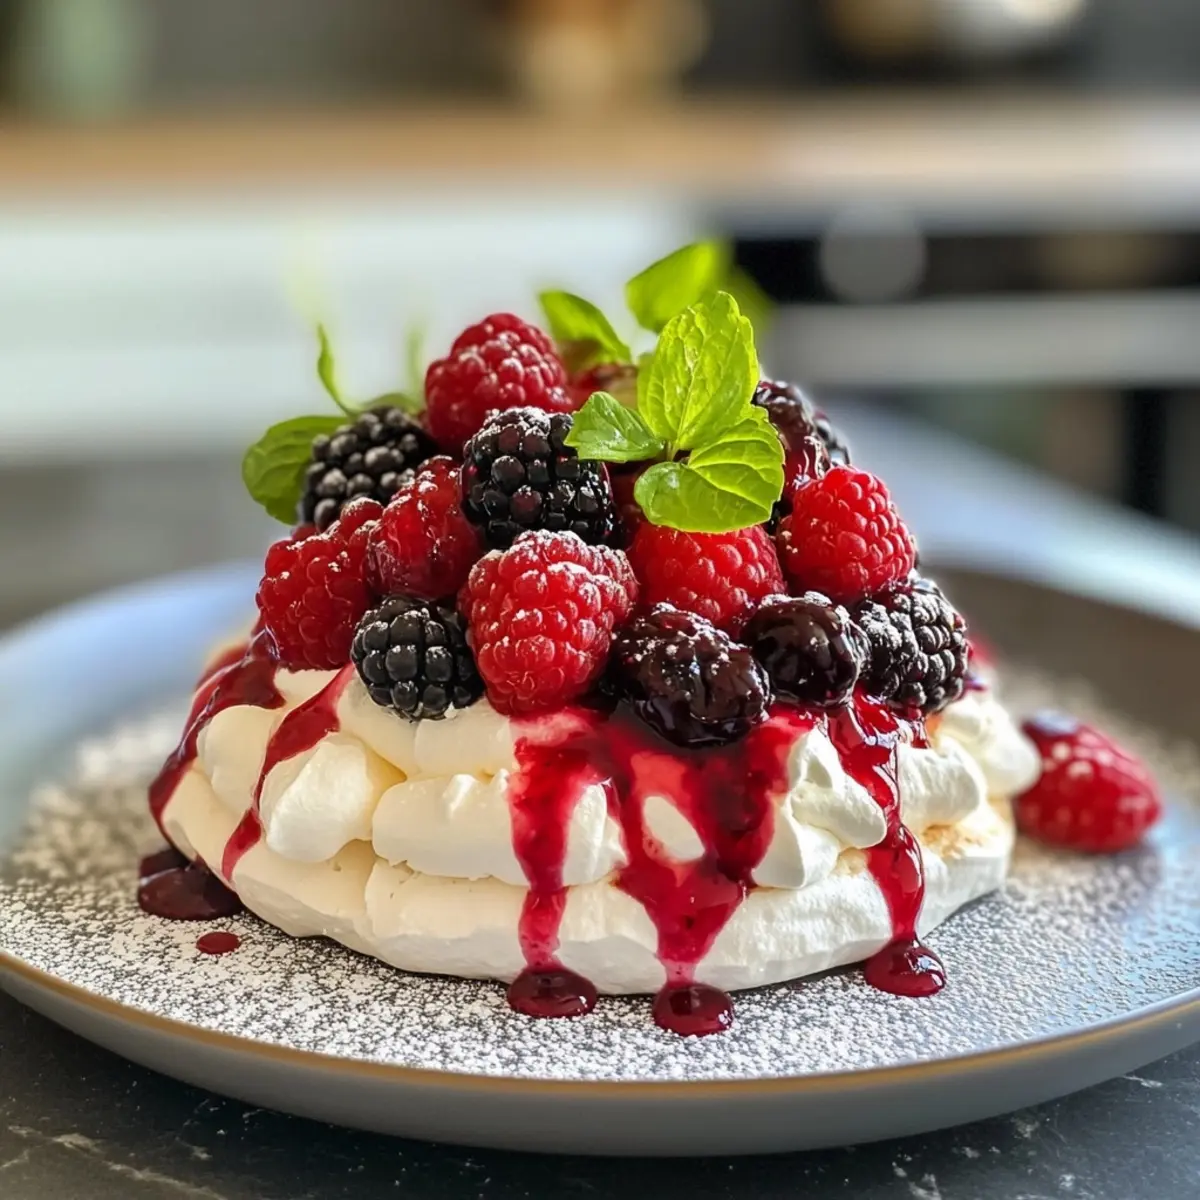
There’s something delightful about creating desserts that are both light and indulgent, and that’s exactly what these Mini Pavlova Berry Clouds offer. Picture delicate, airy meringue nests with a crisp exterior that crumbles at the slightest touch, revealing a soft, marshmallow-like heart. Topped with luscious whipped cream and vibrant seasonal berries, these gluten-free creations are a feast for the eyes and the taste buds.
When I first experimented with mini pavlovas, I was surprised at how easy they were to make. A few simple ingredients transformed into a stunning dessert that wowed my friends during a summer gathering. Whether you’re hosting a sophisticated dinner or just want to treat yourself to something sweet, these pavlovas lend themselves to endless customization—be it tropical fruits or a drizzle of chocolate. Join me on this journey to create these elegant bites of bliss; you’ll be left with a dessert that feels like a special occasion, no matter the day.
Why love Mini Pavlova Berry Clouds?
Simplicity at Its Best: The recipe doesn’t require advanced baking skills, making it accessible for any home cook.
Airy Delight: Enjoy the perfect balance of a crispy shell and marshmallow-like center that melts in your mouth.
Customizable Creations: Top with seasonal berries, chocolate drizzle, or even tropical fruits to suit your tastes and occasions.
Guilt-Free Indulgence: Made with gluten-free ingredients, these pavlovas present a lighter dessert option perfect for any gathering.
Showstopper Appeal: Their stunning appearance will captivate your guests, making them a standout choice for dinner parties or casual get-togethers.
For a truly delightful experience, try pairing these pavlovas with other enchanting desserts like Mini Blueberry Mousse for a dessert spread that will impress everyone!
Mini Pavlova Berry Clouds Ingredients
For the Meringue
• Egg Whites – Provide structure and volume; fresh eggs yield the best results when whipped.
• Granulated Sugar – Sweetens and stabilizes the meringue; caster sugar can be used for a finer texture.
• Vinegar – Adds acidity to help stabilize the meringue; lemon juice or cream of tartar can serve as substitutes.
For the Toppings
• Whipping Cream – Brings rich creaminess; substitute with a non-dairy whipped topping for a vegan option.
• Powdered Sugar – Sweetens the whipped cream; regular sugar can be used, but expect a grainier texture.
• Vanilla Extract – Enhances the flavor of the whipped cream; optional if you’re using flavored toppings.
• Seasonal Berries (e.g., strawberries, blueberries, kiwi, passionfruit) – Offer sweetness, tartness, and vibrant color; always choose fresh for optimal flavor, but if using frozen, make sure to thaw and drain them first.
Add these delightful ingredients together, and you’ll have the perfect foundation for your Mini Pavlova Berry Clouds!
How to Make Mini Pavlova Berry Clouds
- Preheat the Oven: Start by preheating your oven to a low temperature of 225°F (110°C). This gentle heat will ensure your pavlovas bake evenly and develop that perfect crisp exterior. Line a baking sheet with parchment paper for easy removal.
- Whip the Egg Whites: In a mixing bowl, beat the egg whites using a stand mixer until soft peaks start to form. Gradually add the granulated sugar, beating until stiff peaks develop, and the mixture looks glossy and smooth.
- Add Vinegar: Gently fold in the vinegar to your egg white mixture, making sure it’s fully combined without deflating the meringue. This step helps keep your pavlovas stable and adds that perfectlightness.
- Shape the Meringue: Using a piping bag or a spoon, create nests of the meringue on the prepared baking sheet, making sure to leave some space between them. Aim for a dollop that’s slightly higher in the center for that beautiful dome shape.
- Bake the Pavlovas: Place your baking sheet in the preheated oven and bake the meringues for 1 to 1.5 hours. They should feel crisp to the touch. Once done, turn off the oven and let the pavlovas cool completely inside to prevent cracking.
- Whip the Cream: While the meringues are cooling, whip the cream with powdered sugar and vanilla extract in a separate bowl until soft peaks form. Chill it in the refrigerator until you’re ready to assemble.
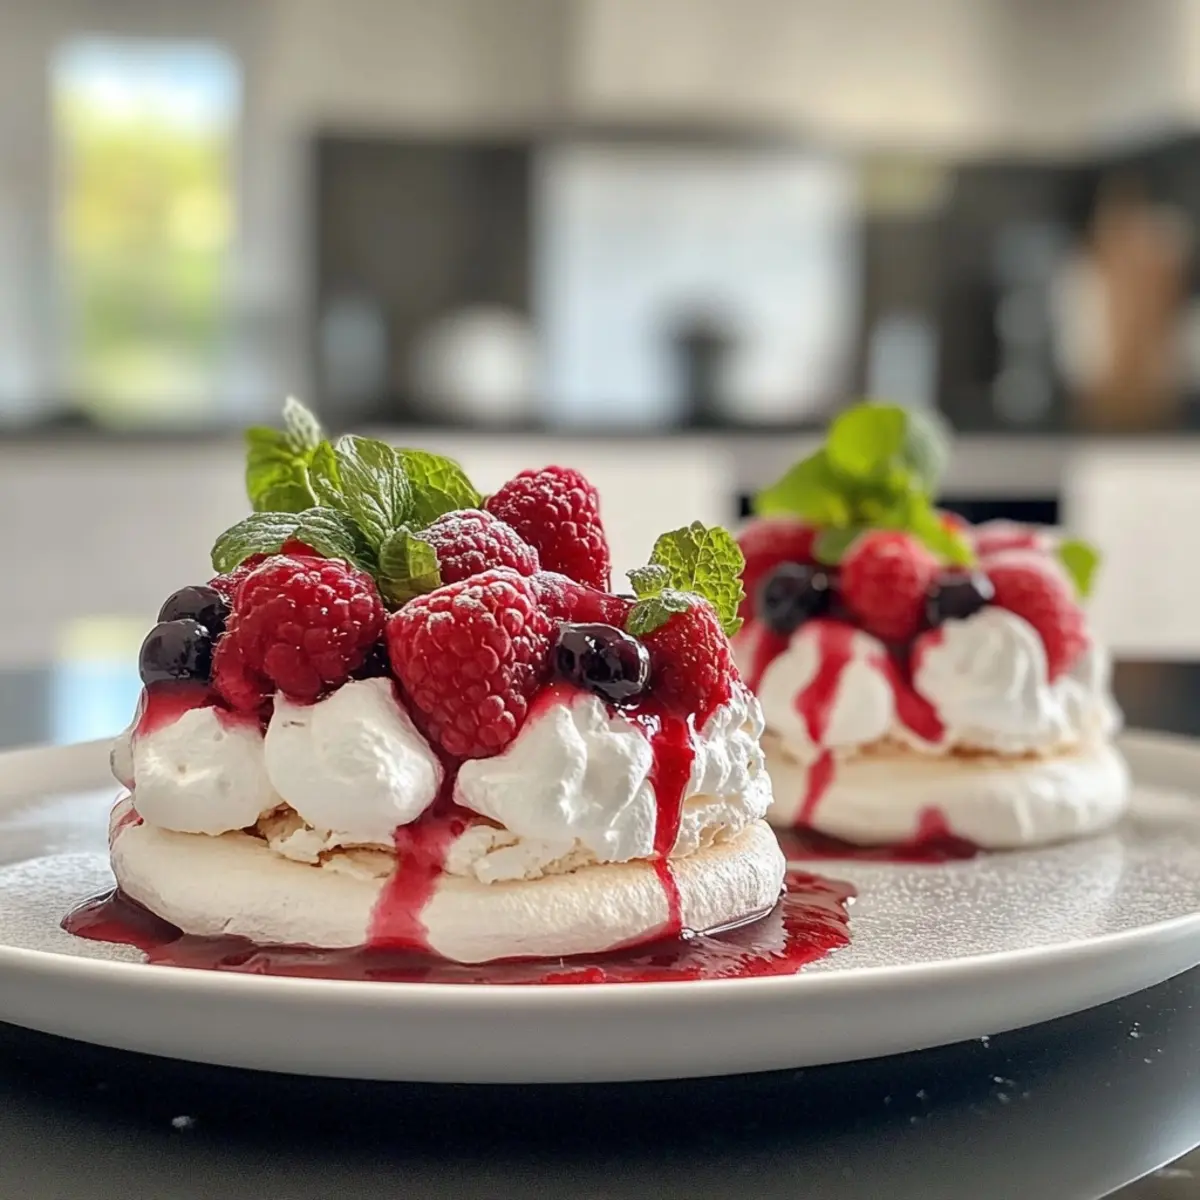
- Assemble Your Pavlovas: Just before serving, top the cooled meringues with the luscious whipped cream and arrange your seasonal berries beautifully atop each nest.
Optional: Drizzle with chocolate sauce for a decadent touch!
Exact quantities are listed in the recipe card below.
What to Serve with Mini Pavlova Berry Clouds?
Create the perfect dessert experience by pairing these delightful meringue nests with complementary flavors and textures.
- Fresh Mint Leaves: Bright and aromatic, mint adds a refreshing element that enhances the sweetness of the pavlovas. A few sprigs scattered atop create a pop of color and flavor.
- Coconut Whipped Cream: For a twist on the classic topping, use coconut whipped cream. Its tropical flavor complements the berries and gives a creamy yet light finish.
- Chocolate Sauce: Drizzling rich chocolate sauce over the pavlovas introduces a delightful contrast between sweetness and depth. This addition is perfect for chocolate lovers!
- Crispy Biscotti: Serve alongside crunchy biscotti for a delightful textural contrast. Dipping a piece into the pavlova’s cream offers a delightful bite of crunch.
- Berry Compote: A warm berry compote (like raspberry or blueberry) brings a tangy sweetness that perfectly balances the pavlova’s meringue. It enhances the fruitiness while adding moisture.
- Sparkling Rosé: Pair with a glass of bubbly sparkling rosé for a celebratory touch. The effervescence complements the lightness of the pavlovas and makes every bite feel special.
- Fruit Sorbet: Offer a refreshing fruit sorbet alongside for a cool, palate-cleansing option. Choose flavors like raspberry or mango to match well with the pavlova’s sweetness.
- Mini Fruit Tartlets: For a dessert spread, include mini fruit tartlets filled with pastry cream. Their buttery crust and rich filling can create a delightful contrast to the airy pavlovas.
With these delightful accompaniments, your Mini Pavlova Berry Clouds will not only shine on their own but also create a stunning dessert spread!
Mini Pavlova Berry Clouds Variations & Substitutions
Feel free to put your own twist on these delightful Mini Pavlova Berry Clouds with some of these creative ideas!
- Tropical Twist: Swap seasonal berries for mango, pineapple, or passionfruit for a refreshing, exotic flavor. The brightness of these fruits can really elevate your pavlovas.
- Zesty Whip: Add lemon or lime zest to the whipped cream for a zesty kick that balances the sweetness of the meringue beautifully. This will bring a refreshing brightness and a pop of flavor.
- Indulgent Drizzle: Drizzle with caramel or chocolate sauce for a richer dessert. The gooey sweetness pairs wonderfully with the crisp meringue and soft whipped cream.
- Nutty Crunch: Top with finely chopped nuts like pistachios or almonds for a crunchy texture that contrasts beautifully with the soft meringue. This adds a delightful layer of flavor!
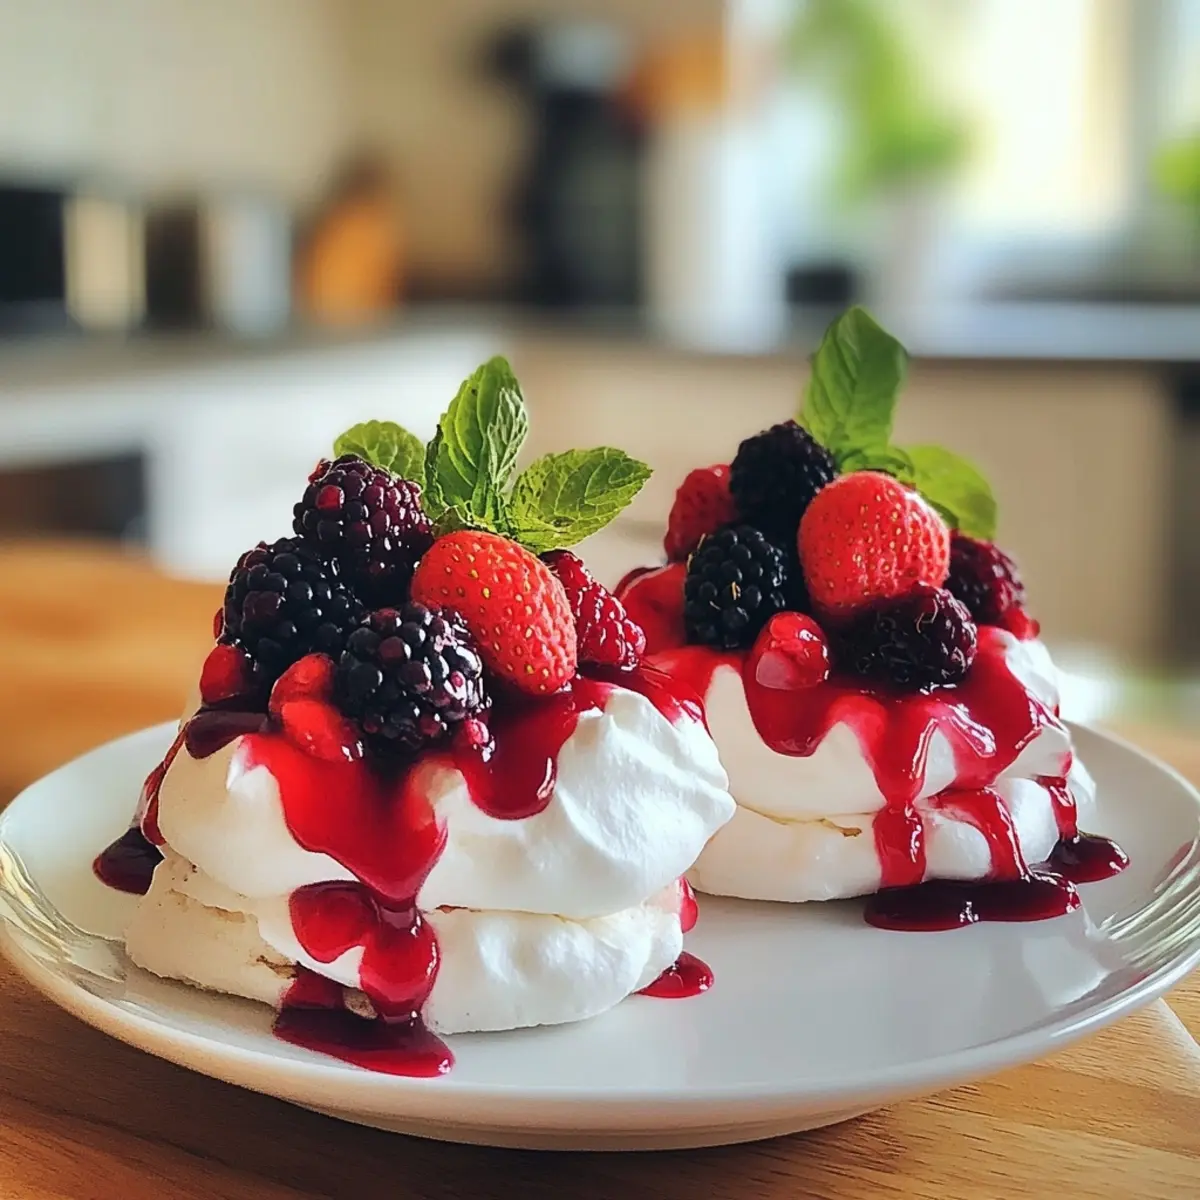
- Berry Medley: Use a mix of berries like blackberries, raspberries, and strawberries for a colorful and flavorful topping assortment. The combination of sweet and tart will excel in every bite.
- Coffee Kick: Incorporate finely ground espresso into the whipped cream for a coffee-flavored variation that will awaken your taste buds. It’s a perfect match for chocolate drizzle!
- Herbal Infusion: Try incorporating a hint of fresh mint or basil into your toppings for an unexpected herby freshness that will surprise and delight your guests.
- Spicy Sizzle: For those who enjoy heat, sprinkle a pinch of cayenne or chili powder over the berries before serving. The spicy kick adds an exciting twist to the romantic sweetness of pavlovas.
Expert Tips for Mini Pavlova Berry Clouds
- Egg White Magic: Ensure your mixing bowl and beaters are completely clean and dry. Any fat or egg yolk can prevent the egg whites from whipping to perfection.
- Gentle Baking: Bake the mini pavlovas at a low temperature to prevent cracking. A slow bake is key to achieving that crispy shell and fluffy inside.
- Cooling Matters: Allow the pavlovas to cool in the oven after baking. This step is crucial to avoid shrinkage and maintain their shape.
- Fresh Ingredients: Use fresh eggs for the best results when making meringue. Freshness leads to better volume and stability.
- Customize Wisely: Feel free to experiment with toppings, but add heavier sauces like chocolate only right before serving to prevent sogginess.
- Storage Savvy: Store plain meringues in an airtight container to maintain their crispness, adding toppings just before enjoying your gorgeous Mini Pavlova Berry Clouds.
How to Store and Freeze Mini Pavlova Berry Clouds
Airtight Container: Store plain mini pavlovas in an airtight container at room temperature for up to 3 days to maintain their crispness and texture.
Refrigerating Toppings: If you’ve assembled your mini pavlovas with whipped cream and berries, keep them covered in the fridge and consume within 1 day for best flavor and texture.
Freezing Suggestions: While it’s not ideal to freeze pavlovas once topped, plain meringues can be frozen for up to 1 month. Allow them to cool completely, then store in a freezer-safe container.
Reheating: If you need to revive a thawed pavlova, briefly pop it back into a low-temperature oven for a few minutes. This will help restore some of its original crispness before topping it with cream and berries.
Mini Pavlova Berry Clouds Recipe FAQs
What type of egg whites should I use for the best results?
Absolutely! Fresh egg whites yield better volume and stability when whipped. For the ultimate success, ensure no yolk contaminates the whites, as even a small amount can prevent them from reaching their full fluffy potential.
How should I store Mini Pavlova Berry Clouds?
I recommend storing the plain mini pavlovas in an airtight container at room temperature for up to 3 days. This helps maintain their delightful crispness. However, if you’ve already assembled them with whipped cream and berries, keep them covered in the refrigerator and consume them within 1 day for the best flavor and texture.
Can I freeze the pavlovas?
Very! You can freeze plain mini pavlovas for up to 1 month. Simply allow them to cool completely after baking, then store them in a freezer-safe container. When you’re ready to enjoy them, thaw them in the fridge, and if you want to restore some crispness, pop them into a low-temperature oven briefly before adding toppings.
What should I do if my pavlovas crack?
Don’t worry! Cracking can happen, often due to rapid temperature changes during baking. To minimize this, always bake at a low temperature and let your pavlovas cool in the oven. If they do crack, just consider adding a generous layer of whipped cream and berries on top; they’ll still be delicious and beautifully presented!
Are there any dietary considerations when making pavlovas?
Of course! These delightful Mini Pavlova Berry Clouds are naturally gluten-free, making them a great option for those with gluten sensitivities. Additionally, you can substitute the whipped cream with non-dairy alternatives for vegan-friendly treats. Always check the labels on your sugars and toppings if allergies are a concern.

Irresistibly Light: Mini Pavlova Berry Clouds You’ll Love
Ingredients
Equipment
Method
- Preheat your oven to 225°F (110°C) and line a baking sheet with parchment paper.
- In a mixing bowl, beat the egg whites using a stand mixer until soft peaks form. Gradually add granulated sugar, beating until stiff peaks develop.
- Gently fold in the vinegar to the egg white mixture until combined.
- Create nests of meringue on the prepared baking sheet, leaving space between each.
- Bake for 1 to 1.5 hours until crispy. Allow cooling in the oven.
- Whip the cream with powdered sugar and vanilla until soft peaks form. Chill until ready.
- Top cooled meringues with whipped cream and seasonal berries just before serving.
Notes

Leave a Comment